Easy Homemade Sourdough Bread Recipe | Beginner’s Guide
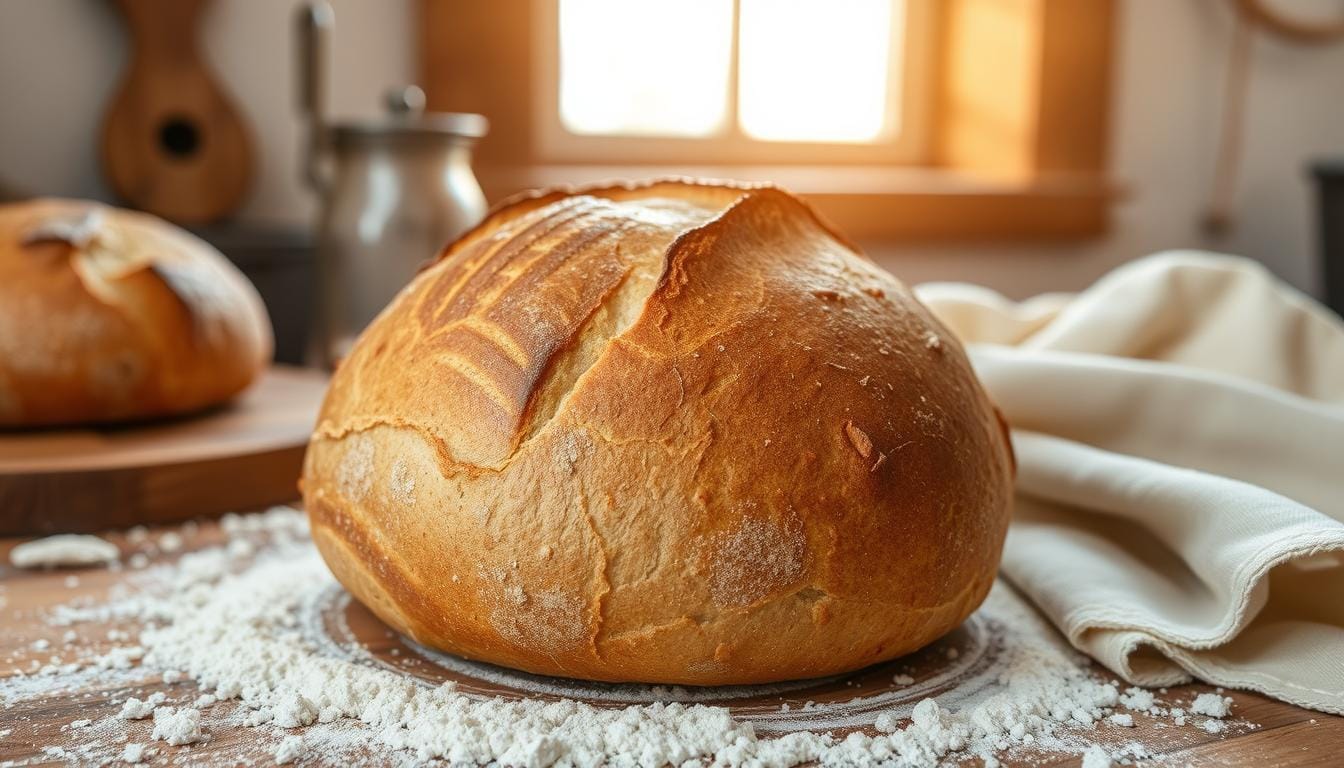
Enjoy the amazing smell and crunchy texture of homemade sourdough bread. I remember the first time I made it. It was a challenge, but the taste was worth it.
Are you looking for that special flavor and texture that homemade sourdough offers? You’re in the right spot. We’ll dive into the science of fermentation, the health perks of sourdough, and how to make your own amazing bread. Get ready to wow your loved ones with your baking skills!
Table of Contents
What is Sourdough Bread and Its Benefits
Sourdough bread is a special type of bread. It’s made with a live starter instead of commercial yeast. This method gives sourdough its sour taste and health benefits over regular bread.
The Science Behind Natural Fermentation
The fermentation in sourdough bread comes from good bacteria like lactobacillus and acetobacillus. These bacteria break down gluten, making the bread easier to digest. The process also creates lactic acid, which gives sourdough its sour taste.
Health Benefits of Sourdough
- Sourdough bread has a lower glycemic index and glycemic load. This means it’s less likely to raise blood sugar levels.
- The fermentation process makes nutrients like B vitamins and iron more available.
- Sourdough may have prebiotic and probiotic properties. These can help keep your gut healthy.
- The long fermentation can also help digest gluten better. This makes sourdough a good option for some with gluten sensitivity.
Why Choose Homemade Over Store-bought
Homemade sourdough bread is better than store-bought in many ways. It tastes and feels better, and it’s free from additives. Plus, making it at home is cheaper and can be fun.

“The long fermentation process of sourdough bread may assist in gluten digestion, allowing some individuals sensitive to gluten (not Celiac) to enjoy bread.”
Essential Tools and Equipment for Baking
Baking delicious sourdough bread at home needs the right tools and equipment. The right baking tools can greatly improve your homemade loaves’ quality and consistency. Here are the must-have items for your sourdough bread baking journey:
- Kitchen Scale: An accurate digital kitchen scale is crucial for precisely measuring ingredients, especially for sourdough where ratios are essential.
- Large Mixing Bowl: A large, sturdy bowl is needed to accommodate the rise and bulk fermentation of your dough.
- Dutch Oven or Combo Cooker: A Dutch oven or a combination of a pot and a lid, like the Lodge 3qt. cast iron or Le Creuset, creates the perfect steamy environment for baking bread.
- Bread Lame or Sharp Razor Blade: These tools are used for scoring the dough before baking, allowing the bread to expand and develop a beautiful, artisanal crust.
- Proofing Baskets (Bannetons): Proofing baskets, also known as bannetons, support the shape of the dough during the final rise and help create a lovely, rustic appearance.
- Parchment Paper: Parchment paper is essential for transferring the shaped dough into the hot Dutch oven, preventing sticking and ensuring a clean release.
- Digital Thermometer: A digital thermometer can be helpful for monitoring the dough temperature, ensuring the optimal fermentation and baking conditions.
These bread baking tools and sourdough equipment are the foundation for creating exceptional homemade sourdough bread. With the right tools, you’ll be on your way to mastering the art of sourdough baking.
“The right tools can make all the difference in the world when it comes to baking sourdough bread at home.”

Understanding Your Sourdough Starter
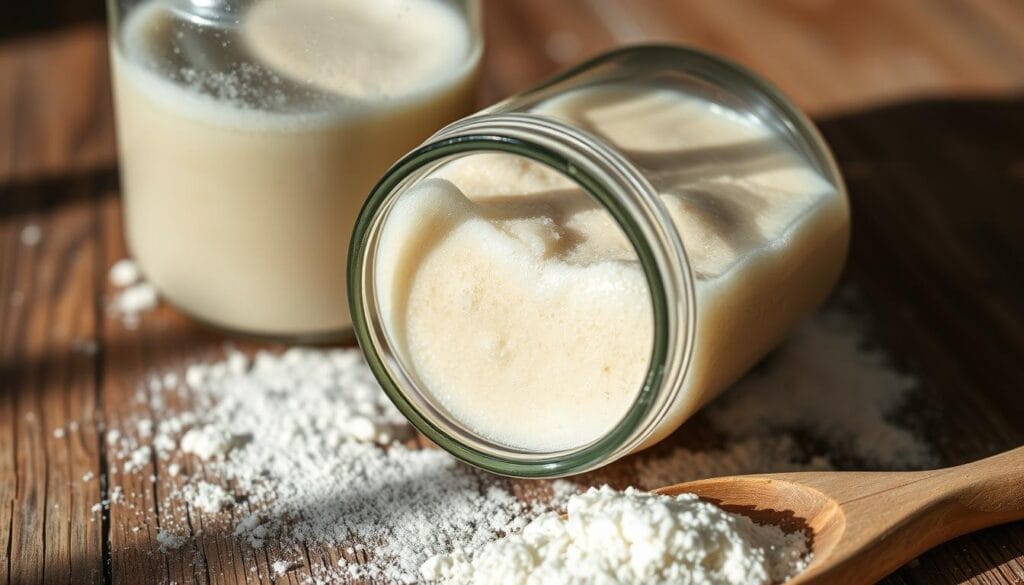
A sourdough starter is key to making homemade sourdough bread. It’s a mix of wild yeast and bacteria that makes the dough rise and gives it a tangy taste. To keep your starter healthy, you need to know how to feed and care for it.
How to Feed and Maintain Your Starter
Feed your sourdough starter twice a day, 12 hours apart. Use a 1:5:5 ratio for feeding: 20% ripe starter, 100% water, and 100% flour (whole-grain rye and white bread flour). This keeps your starter happy and ready for baking. Always discard some starter before feeding to keep it the right size.
Signs of a Healthy Starter
A healthy starter will grow, showing bubbles and a sour smell. It should double in size after feeding. A simple float test can also tell if your starter is ready for baking. If a bit of starter floats in water, it’s ready!
Common Starter Problems and Solutions
- Slow Fermentation: If your starter is slow, try feeding it more often or change the room temperature.
- Hooch Formation: The dark, smelly liquid on the starter’s surface is hooch. Just pour it off and feed your starter as usual.
- Mold Growth: If you see mold, throw out the starter and start with a new one.
Keeping a sourdough starter healthy takes practice, but with the right care, you’ll soon be baking great bread. Watch for signs of a thriving starter and solve any problems during starter maintenance.
Basic Ingredients for Perfect Sourdough
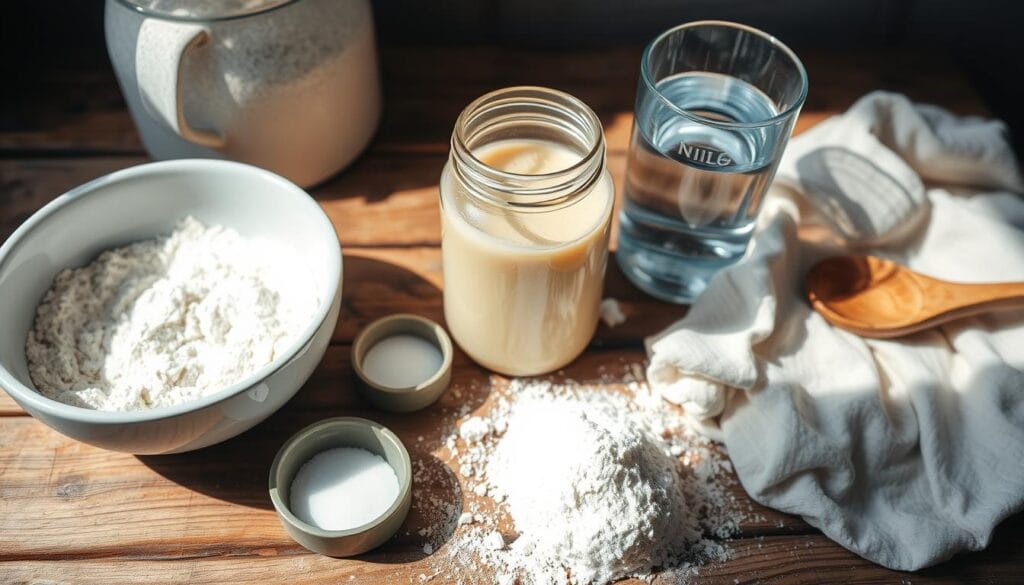
Making delicious homemade sourdough bread begins with the right ingredients. You’ll need an active sourdough starter, bread flour, water, and salt. Let’s explore each essential element:
- Sourdough Starter: An active, well-fed sourdough starter is key. It gives your bread its natural leavening and flavor. Keep your starter healthy by feeding it flour and water regularly.
- Bread Flour: Choose high-quality bread flour with 11.7% to 12.7% protein. This flour has the right gluten for your sourdough’s structure.
- Water: Use filtered or spring water at 90°F (32°C) for best fermentation. Avoid tap water with chlorine, as it can harm your starter’s yeast and bacteria.
- Salt: Add about 18 grams of fine sea salt. It boosts flavor and helps control fermentation.
The quality of your sourdough bread ingredients, especially bread flour, greatly affects your loaf’s texture and taste. With the right mix of these basics, you’re set to bake perfect sourdough bread.
“The quality of the ingredients you use is the single most important factor in determining the quality of the final product.”
Mastering the Sourdough Bread Recipe
Baking sourdough bread at home is possible for beginners. It’s all about knowing the right ingredients and mixing steps. With patience and practice, you can make your own sourdough loaves.
Ingredient Measurements and Ratios
Start with these basic measurements for sourdough:
- 50g active sourdough starter
- 350g water
- 500g high-quality bread flour
- 7g salt
Use King Arthur Bread Flour or Matthews Cotswold Strong White Bread Flour for the best taste. This dough is easier to work with for beginners.
Step-by-Step Mixing Process
Here’s how to mix your sourdough dough:
- In a big bowl, mix the sourdough starter with water until it’s fully mixed.
- Add the flour and salt. Mix until you get a shaggy dough.
- Let the dough rest for about an hour. This lets the flour hydrate and gluten develop.
- Do stretch and fold techniques to strengthen the dough. Do this 4-6 times over 2-3 hours.
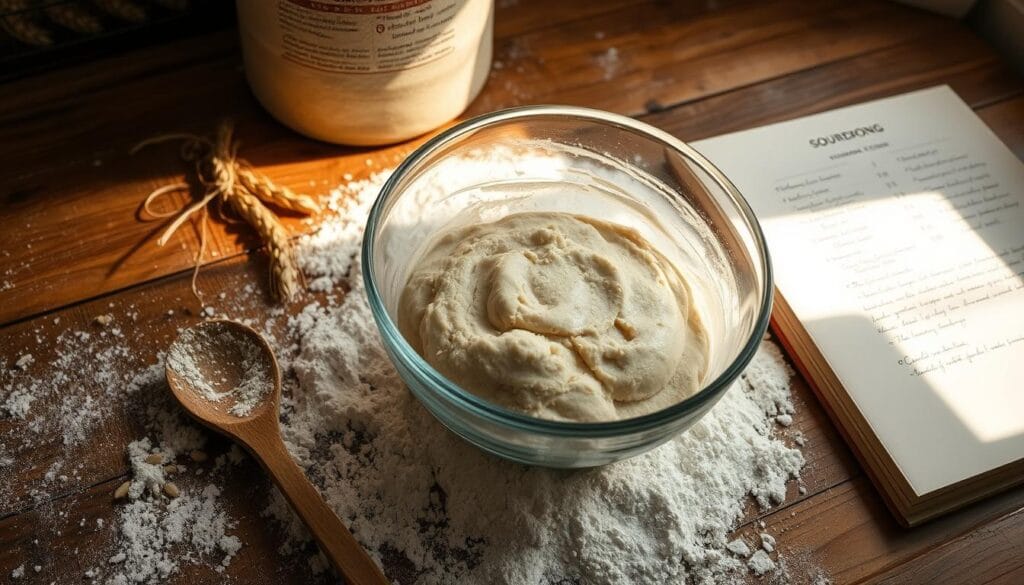
By following these steps, you’ll get a strong sourdough dough. It’s ready for bulk fermentation and shaping. Keep following for more sourdough baking tips!
The Art of Autolyse and Bulk Fermentation
Learning autolyse and bulk fermentation is key to making perfect sourdough bread. Autolyse starts with mixing flour and water, letting it rest. This step begins the enzymatic process and makes the dough easier to stretch. Bulk fermentation happens after adding all ingredients, lasting 7-10 hours at room temperature. It’s when the dough rises, developing its taste and texture.
The autolyse time for sourdough is about 3 hours, with water at 78°F (26°C). This long rest helps break down the flour, making the dough more pliable. The recipe calls for a 15% levain percentage for a balanced fermentation.
- Watching the dough’s appearance, rise, strength, and gluten is important during this phase.
- The “stretch and fold” method is best for high-hydration dough to develop gluten.
- Mixing the dough for 6 minutes is needed to get the right consistency.
In the bulk fermentation stage, the dough should grow by 50-75% in volume. This usually takes 5-7 hours, depending on the room’s temperature and starter activity. This longer fermentation time is crucial for developing the dough’s complex flavors and strong structure.
Proper fermentation, mixing techniques, and attentive baking are key elements to consider for better bread-making.
Understanding autolyse and bulk fermentation is the first step to making an amazing sourdough bread. By getting good at these techniques, you’ll create a loaf that’s both beautiful and delicious. It will surely impress your loved ones.
Stretch and Fold Technique Guide
Learning the stretch and fold technique is key for making great sourdough bread. It helps build the dough’s gluten structure. This method also creates a beautiful, open crumb texture. Let’s explore the right hand movements and timing for the best results.
Proper Hand Movements
Begin by wetting your hands lightly to avoid dough sticking. Gently pick up one side of the dough, stretch it up, and fold it over. Rotate the bowl and do this for all sides of the dough. Handle the dough carefully to avoid tears or overstretching.
Timing Between Folds
The stretch and fold technique relies on timing. Do two sets of folds, 30 minutes apart. This lets the dough rest and the gluten to develop more.
After the first set, let the dough rest for 30 minutes. Then, do the stretch and fold again. Rotate the bowl and handle the dough gently. The dough will become tighter and more cohesive after each set, showing the gluten is strengthening.
Mastering the stretch and fold technique will help you knead sourdough perfectly. You’ll get a fantastic crumb structure in your homemade sourdough bread.
Shaping Your Sourdough Loaf
Shaping your sourdough dough is a key step in making bread. It comes after dividing and preshaping, and before proofing. The right sourdough shaping techniques help make a loaf that looks good and tastes great.
The way you shape your dough depends on its type. Whether it’s slack, tacky, or enriched, different bread shaping techniques are used. These techniques help you make various shapes, like baguettes, boules, and pan loaves.
- Gently turn the dough onto a lightly floured surface.
- Shape the dough into a ball by pulling the four sides up and into the middle.
- Turn the dough over, seam-side down, and gently cup it.
- Pull and twist the dough to create surface tension.
- Place the shaped dough on parchment paper, seam-side down.
- Use the paper as a sling to transfer the dough to a proofing bowl.
The size of the proofing basket and the dough weight can change based on the bread type. Always handle the dough gently and follow the right steps for your desired shape.
“Shaping is essential for forming fermented bread dough into a visually pleasing final shape.”
Learning the sourdough shaping techniques will help you make bread that looks amazing and tastes perfect.
Proofing Methods and Times
Mastering sourdough proofing is key for perfect bread. You have two main methods: room temperature and cold proofing.
Room Temperature vs. Cold Proofing
Most sourdough recipes proof at room temperature for 1.5 to 3 hours. This warm environment speeds up fermentation, helping the dough rise fast.
Cold proofing, or retarding, involves refrigerating the dough for 8 to 16 hours, often overnight. This slower process enhances flavor and crumb structure.
How to Tell When Proof is Complete
- Do the “finger dent test”: Poke the dough gently with your finger. If it springs back slowly, it’s ready. If it springs back fast, it needs more time.
- Watch the dough’s size. It should have risen by about 25%, but not double.
- Check the dough’s texture and look. When ready, it should be slightly domed and soft to the touch.
By paying attention to proofing and using these tests, you’ll know when to bake. This ensures your sourdough bread turns out perfectly every time.
“The relationship between proofing temperature and total fermentation time indicates that warmer dough ferments faster, while colder dough ferments slower.”
Scoring Patterns and Techniques
Scoring your homemade sourdough bread is an art. Before baking, use a sharp bread lame or razor blade to make a 2-3 inch slash. This helps the bread expand evenly, avoiding random bursts and making it look great.
Don’t be afraid to try different scoring patterns. Experiment with various designs, depths, and angles. The depth and angle of your score can greatly affect the bread’s look and how it rises in the oven.
- Preheat the oven for at least 20 minutes before baking. This helps with scoring and baking.
- Coat the dough’s surface with rice flour before cutting. It ensures consistent results.
- Letting the dough rest in the fridge overnight makes scoring easier. It also helps prevent it from spreading too much before baking.
Having the right tools is key for scoring. Get a bread lame, parchment rounds, a squirt bottle for water, thread or dental floss for patterns, a pastry brush, circle cookie cutters, a toothpick or chopstick, sharp kitchen scissors, and a pizza peel. These tools will make scoring a lot easier.
“Scoring bread is a fun part of the baking process, so enjoy the creative aspect and do not stress too much about the final outcome.”
Embrace the art of scoring and have fun trying new techniques. Remember, each loaf of bread is unique, even with the same recipe. Let your creativity shine through.
Baking Temperature and Times
Getting the right sourdough baking temperature and timing is key for a golden crust and soft crumb. The Dutch oven method is the secret to mastering this.
Dutch Oven Method
Heat your oven to 450°F (232°C) with the Dutch oven inside. When it’s hot, put your dough in. The steam inside helps the bread rise and crust well.
Bake covered for 20-30 minutes. Then, remove the lid and bake for another 20-25 minutes. This method gives your sourdough bread a deep-golden color and a crisp crust.
Steam Creation Tips
To improve your Dutch oven bread baking, add ice cubes to the pot before baking. The melting ice creates steam, making the crust perfect.
For an even crisper crust, bake with the oven door slightly open for 5-10 minutes after the first bake. This lets moisture evaporate, making your sourdough loaf stunning.
“The key to achieving a beautiful, crusty sourdough loaf is all in the baking temperature and technique. With a few simple tricks, you can transform your home oven into a professional-grade bakery.”
Cooling and Storage Guidelines
Baking the perfect sourdough bread is just half the battle. Proper cooling and storage are key to keeping it delicious. Let’s explore the essential steps for handling your sourdough bread after baking.
The bread cooling process is crucial. After baking, let your sourdough cool on a wire rack for at least 1-2 hours. This step helps the crumb set and moisture distribute evenly.
Once cooled, it’s time to store your sourdough. For short-term sourdough bread storage, keep it in a paper bag or bread box at room temperature for 2-3 days. Don’t store it in plastic bags, as it can make the crust soft.
For longer storage, consider freezing the bread. Slice the loaf and freeze the slices. This keeps the bread fresh for up to a month or longer. Just toast the frozen slices when you’re ready to eat.
“Proper bread cooling process and storage are key to maintaining the delightful texture and flavor of your homemade sourdough.”
Remember, the sourdough bread storage methods might vary based on your bread’s crust and crumb. Experiment to find the best methods for your loaf.
By following these guidelines, your sourdough bread will stay fresh and delicious for days. Happy baking!
Troubleshooting Common Issues
Baking sourdough bread can be rewarding but also challenging. If you’re having trouble with your loaves, don’t worry. We can fix flat loaves and dense crumbs easily. Let’s explore how to solve these common problems.
Fixing Flat Loaves
Flat sourdough loaves can come from a few reasons. Overproofing is a big one, where the dough ferments too long and collapses. Make sure you’re following the right fermentation times and using high-protein flour for strong gluten.
Another issue is weak gluten from poor mixing and kneading. Ensure you knead well to add enough oxygen to the dough. This helps the dough rise better.
Addressing Dense Crumb
If your sourdough has a dense crumb, there are a few things to check. First, look at your sourdough starter’s health. A weak starter can cause a dense loaf. Try feeding it more whole grains to boost its strength.
Also, try increasing the dough’s hydration slightly. This can help make the crumb lighter and airier. Lastly, make sure you’re giving the dough enough time to ferment fully. This helps develop the gluten structure.
Remember, baking sourdough is a learning journey. It might take a few tries to get it right. Be patient, experiment with your recipe and technique, and you’ll soon be baking beautiful sourdough bread.
Creative Variations and Add-ins
Explore the world of sourdough bread by trying new variations and add-ins. Mix different flours like whole wheat, rye, or spelt for unique tastes and textures. Add seeds, nuts, dried fruits, or herbs during the last steps for a special touch.
For those who love savory flavors, try cheese-infused breads. Use shredded cheddar, crumbled feta, or Asiago for a rich taste. Add roasted garlic or pickled jalapeños for extra depth. Or, mix sun-dried tomatoes and olives for a Mediterranean twist.
Get creative with sweet and tart flavors. Add blueberries, strawberries, or lemon zest for a fresh taste. Try chocolate chips, nuts, or honey for a sweet treat. The options are endless to make your sourdough bread just right.
FAQ
What is sourdough bread and what are its benefits?
What essential tools are needed for sourdough baking?
How do I maintain and feed a healthy sourdough starter?
What are the basic ingredients for making sourdough bread?
How do I properly mix and handle the sourdough dough?
What is the purpose of the autolyse and bulk fermentation stages?
How do I properly score the dough before baking?
What is the best way to bake sourdough bread in a Dutch oven?
How should I store and cool my freshly baked sourdough bread?
How can I troubleshoot common sourdough baking issues?
Leave a Review
There are no reviews yet. Be the first one to write one.

