How to make a simple 2-ingredient Oreo crust recipe at home
As a busy parent, I’m always searching for quick and easy desserts. That’s why I fell in love with the two-ingredient Oreo crust. It’s a time-saver and tastes much better than store-bought.
This Oreo crust recipe is perfect for many desserts. You can make a pie, cheesecake, or a no-bake treat in just 10 minutes. It looks great and tastes amazing. Plus, you can freeze it for up to 3 months, making it a lifesaver for busy bakers.
Table of Contents
Why Homemade Oreo Crust recipe Beats Store-Bought Options
The foundation of a great dessert is key. Homemade oreo cookie crust is better than store-bought for many reasons. It’s the top choice for your next dessert.
Cost-Effective Benefits
Homemade oreo crust is cheaper than buying it. You only need Oreo cookies and butter. These are easy to find and won’t break the bank. This way, you save money and get a better crust.
Superior Taste and Texture
Homemade oreo cookie crust tastes and feels better. Grinding the Oreos yourself makes a crust that’s crunchy and tasty. You also avoid preservatives found in store-bought ones.
Customization Possibilities
Homemade oreo crust lets you get creative. You can use different Oreo flavors for unique desserts. This flexibility is not possible with store-bought crusts.
Choose homemade oreo crust for better taste, texture, and customization. It’s a game-changer for your desserts. Enjoy making your own and see the difference it makes.
“Homemade Oreo crust is the secret to truly exceptional Oreo-based desserts.”
Essential Ingredients for the Perfect Oreo Crust Recipe
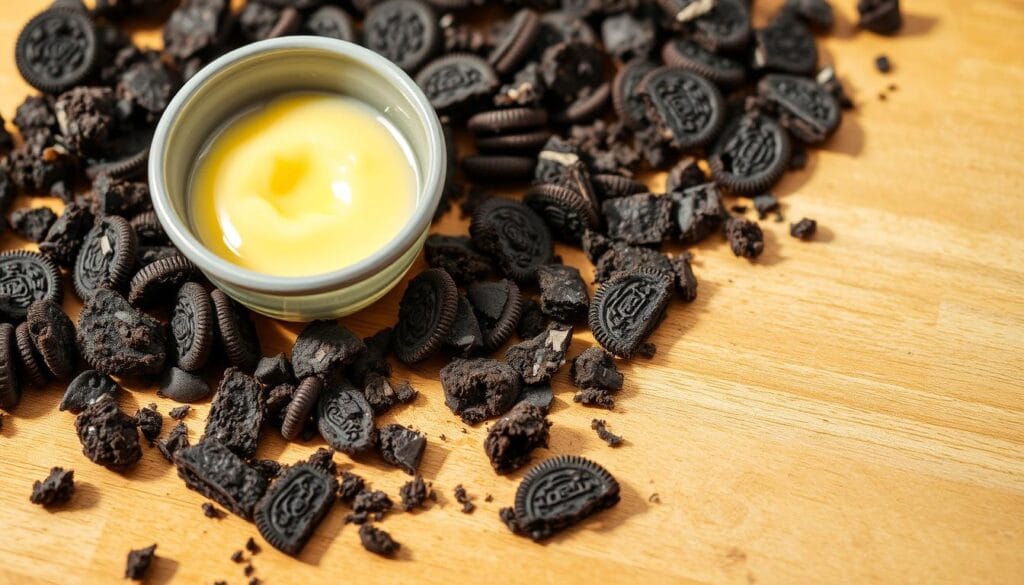
Making the perfect Oreo crust at home is easy. You only need two things: Oreo cookies and unsalted melted butter. You’ll need about 24-25 regular Oreo cookies and 4-5 tablespoons of melted butter.
The Oreo cream filling is key for flavor and holds the crust together. So, don’t remove it. Using the whole cookie saves time and reduces waste. Stick to the classic Oreo flavor for the best oreo crust recipe and oreo cookie crust recipe results.
“The secret to a perfect Oreo crust is in the simplicity of the ingredients – just Oreos and butter. It’s a classic combination that never fails to deliver a delicious, crisp and flavorful base for your favorite desserts.”
With these two ingredients, you’re ready to make the classic oreo crust. It will take your pies, cheesecakes, and other desserts to new heights of indulgence.
Required Tools and Equipment
Making a homemade oreo crumb crust is easy with just a few tools and ingredients. You can choose between using a food processor or crushing the cookies by hand. Having the right tools makes the process smooth and successful.
Food Processor Method
A food processor is the best tool for crushing oreos quickly and efficiently. Just add the oreos, cream filling and all, and pulse until they’re finely ground. This method is fast and ensures an even crust.
Manual Crushing Method
Without a food processor, you can still make an easy oreo crust. Use a plastic ziploc bag and a rolling pin or mallet. Seal the bag, then crush the cookies by rolling or pounding. This method takes more effort but still works well.
Additional Tools Needed
- Mixing bowl
- Measuring cups
- 9-inch pie plate or springform pan
- Flat-bottomed measuring cup or glass for pressing the crust
With these tools, you’re ready to make a delicious oreo crumb crust. It’s perfect for many tasty desserts.
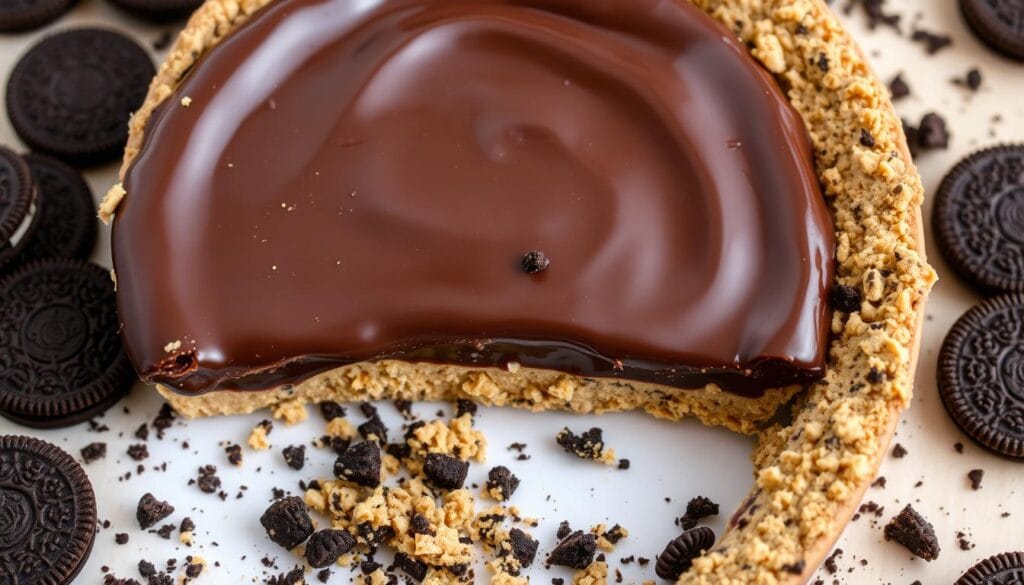
Step-by-Step Cookie Crushing Technique
Making the perfect oreo cookie crust begins with crushing the cookies right. You can use a food processor or crush them by hand. The goal is to get a fine, even crumb for a great crust.
Food Processor Method
For a fast and simple way, put whole oreo cookies in your food processor. Pulse until you get a fine oreo crumb crust. This method makes the easy oreo crust even, so it’s easy to press into a pie dish.
Manual Crushing Method
Without a food processor, you can still make the oreo cookie crust. Put the cookies in a ziplock bag and leave a small hole for air. Use a rolling pin to crush them into a fine, even oreo crumb crust. This method takes more effort but lets you control the texture.
Remember, don’t remove the cream filling. It helps the easy oreo crust stick together and adds flavor.
“The key to a perfect oreo cookie crust is ensuring the crumbs are finely crushed. This creates a cohesive and delicious foundation for your dessert.”
Proper Butter Melting and Mixing Process
To make the perfect oreo crust recipe, focus on melting and mixing the butter right. The butter’s temperature is key for a creamy oreo crust that’s just right.
Ideal Butter Temperature
Melt the butter fully, but don’t let it get too hot. Let it cool a bit before mixing it with the cookie crumbs. This way, the butter will bind the ingredients well, without making the best rated recipe oreo crust greasy or soggy.
Combining Methods
- For the food processor method, add the melted butter to the cookie crumbs and pulse until the mixture is well combined.
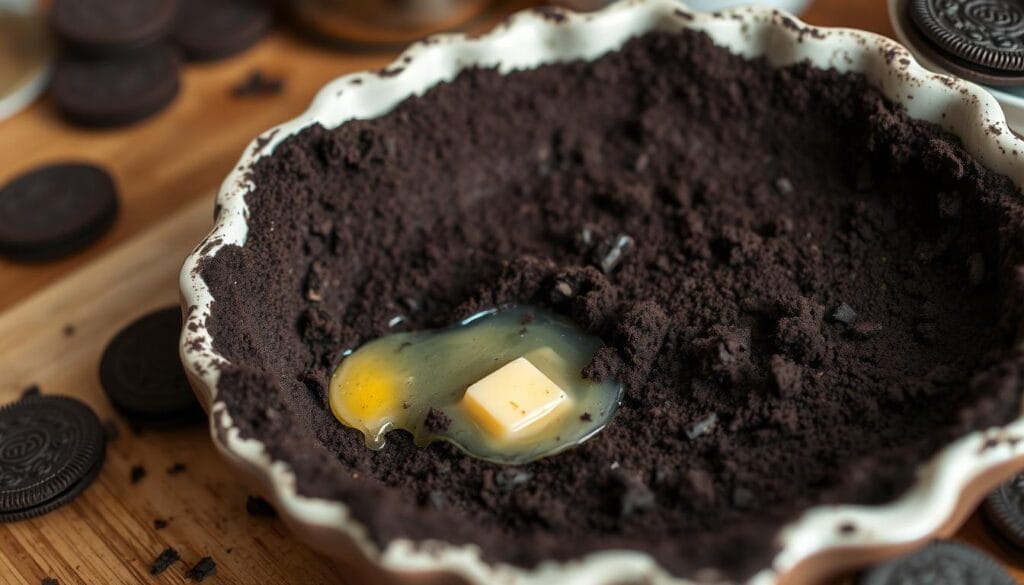
- If mixing by hand, pour the melted butter over the cookie crumbs in a bowl and use a fork to mix until the crumbs are evenly moistened.
Texture Guidelines
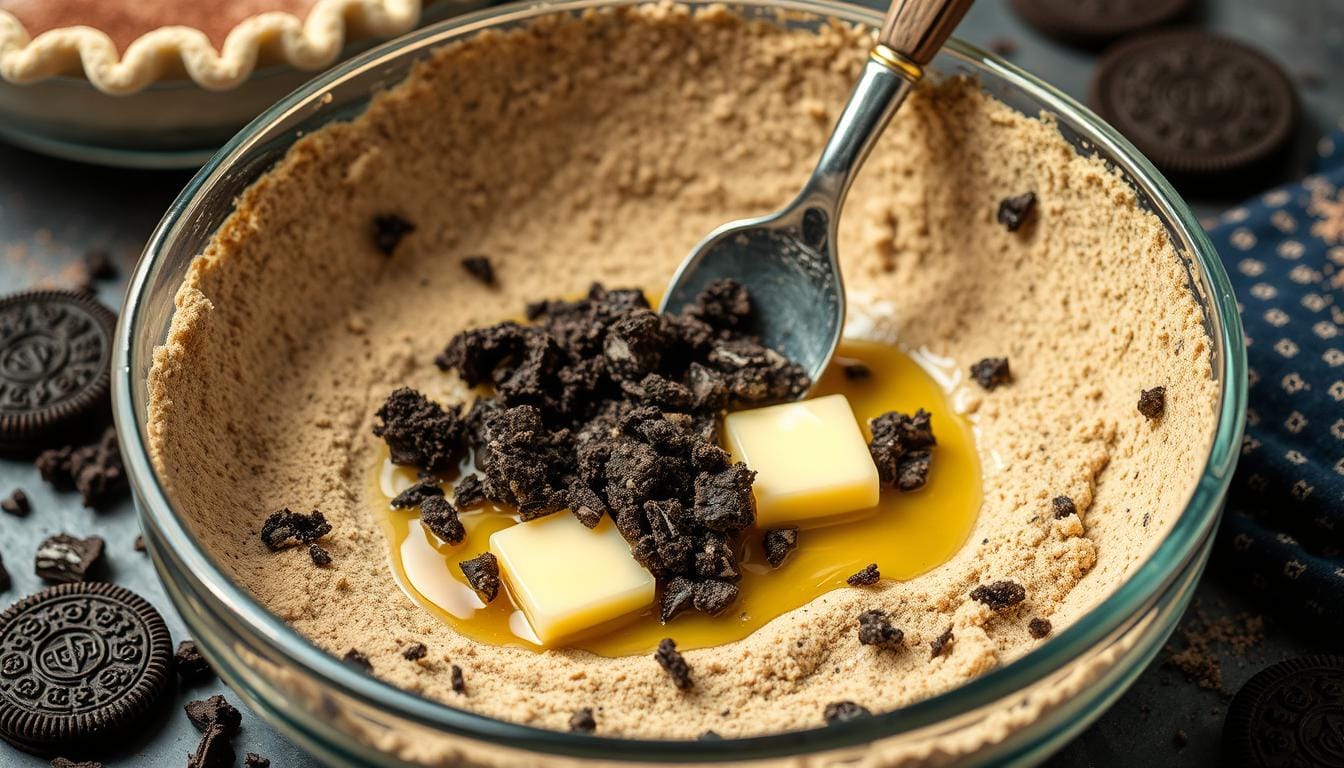
The final oreo crust recipe mixture should feel like wet sand and stick together when pressed. If it’s too dry, add a bit more melted butter. If it’s too wet, add more cookie crumbs until it’s just right.
“The key to a perfect creamy oreo crust is finding the right balance of butter and cookie crumbs. With a little attention to detail, you can create a deliciously rich and indulgent base for your favorite desserts.”
Pressing and Shaping Your Crust
After crushing your Oreos into fine crumbs, it’s time to put them in your pie plate or baking pan. Whether you’re making an oreo pie crust, a homemade oreo crust, or an easy oreo crust, pressing and shaping is key. It helps get the right texture and look.
- Gently pour the Oreo crumb mixture into your 9-inch pie plate, springform pan, or square baking pan.
- Using the bottom of a measuring cup or your fingers, firmly press the crumbs evenly across the bottom and up the sides of the pan. Ensure the crust is compact and the thickness is consistent for the best results.
- For a no-bake Oreo crust recipe, once the crust is shaped, chill it in the refrigerator for at least 30 minutes before adding your desired filling.
- If the recipe calls for a baked Oreo crust, follow the specific instructions for baking time and temperature. This step helps to set the crust and create a sturdy foundation for your delicious dessert.
With a little patience and attention to detail, you can achieve a professional-looking Oreo pie crust. It will impress your family and friends. Enjoy making this versatile and flavorful foundation for your favorite recipes!
“The key to a perfect Oreo crust is in the pressing – compact and even for the best texture and appearance.”
No-Bake vs. Baked Crust Options
Choosing between a no-bake oreo crust or a oreo crust cheesecake comes down to two options: no-bake or baked. Each has its own benefits. Your choice depends on what your recipe needs and what you like best.
Temperature and Timing for Each Method
For no-bake recipes, chill the crust in the fridge for 30 minutes. This makes the butter solid, setting the crust. For a crisper no-bake crust, bake at 350°F for 8-10 minutes. Then, let it cool before adding the filling.
Baked Oreo pie crust recipes need to follow specific steps. This method bakes the crust at a higher temperature for longer. It makes the crust crunchier and more defined.
Choosing the Right Method for Your Recipe
- No-bake is quicker and gives a softer, cookie-like texture for your oreo crust cheesecake or other desserts.
- Baking the crust makes a crisper, sturdier base. It’s better for heavier fillings or toppings.
Think about your recipe’s flavor and texture when choosing between no-bake or baked no-bake oreo crust. A bit of experimentation will help you find the perfect Oreo crust for your dishes.
Storage Tips and Make-Ahead Instructions
Proper storage and make-ahead preparation are key for your homemade Oreo crust. The good news is that you can make this Oreo cookie crust up to 3 days in advance. This gives you a head start on your dessert-making.
To store the crust, wrap it tightly in plastic wrap and refrigerate for up to 3 days. You can also freeze it for up to 3 months. When you’re ready, thaw the crust at room temperature. Then, fill and bake it as your recipe directs.
Keeping your homemade Oreo crust fresh and textured is all about proper wrapping and storage. Make sure the crust is well-sealed to avoid odors or moisture from the fridge or freezer. With a bit of planning, you can enjoy your Oreo crust for days or even months.
FAQ
What are the essential ingredients for an Oreo crust recipe?
Can I use different Oreo flavors for the crust?
What tools do I need to make an Oreo crust?
How do I properly crush the Oreo cookies for the crust?
How do I properly melt and mix the butter with the Oreo crumbs?
How do I press and shape the Oreo crust?
Should I bake the Oreo crust or use a no-bake method?
How can I store the Oreo crust for later use?
Leave a Review
There are no reviews yet. Be the first one to write one.

