Classic King Arthur Bread Recipes for Home Bakers
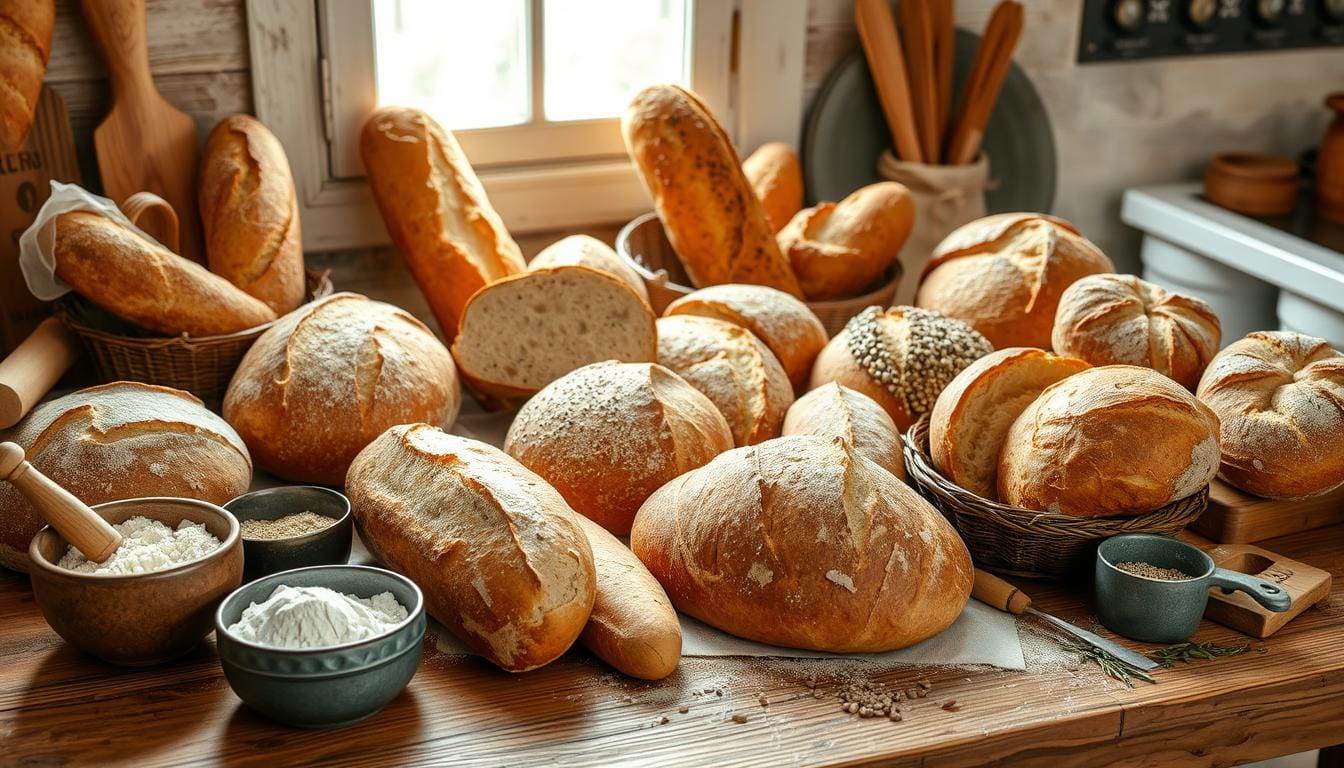
I love kneading dough and seeing it turn into a golden loaf. The smell of fresh bread reminds me of my grandmother’s farmhouse. It’s a tradition I cherish, and King Arthur Flour helps me keep it alive.
In this guide, we’ll dive into king arthur bread recipes. We’ll learn how to make artisanal baking bread at home. Whether you’re experienced or new, you’ll find the skills to make amazing bread with King Arthur Flour.
Table of Contents
Understanding the Art of Bread Making with King Arthur Flour
Bread making has been around for thousands of years. It started with ancient Egyptians and continues today. King Arthur Flour is at the center of this tradition, known for its quality and consistency.
Why Choose King Arthur Flour for Bread Baking
King Arthur Flour is top-notch for bread making. It has 11.7% protein, which is perfect for bread. This flour ensures your baking always turns out great. It’s great for both new and experienced bakers.
Essential Equipment for Home Baking
- Dutch Ovens: These versatile vessels are perfect for baking crusty artisanal loaves, trapping steam and creating the ideal environment for bread development.
- Banneton Baskets: Also known as proofing baskets, these tools help shape and support your dough during the crucial proofing stage, resulting in beautifully textured breads.
- Bread Lames: These specialty scoring knives allow you to create intricate patterns and slashes on the surface of your loaves, enhancing both the aesthetic and the baking process.
Basic Bread Making Terminology
When you start bread making, knowing key terms is important. Fermentation is when yeast or sourdough turns starches into carbon dioxide and alcohol. This is what makes bread rise. Proofing is the final rise before baking. Scoring means making shallow cuts on the loaf to control its expansion during baking.
Learning about bread making and using the right tools will help you make amazing homemade bread. Your bread will not only taste great but also nourish your soul.
Essential Ingredients for Perfect Bread
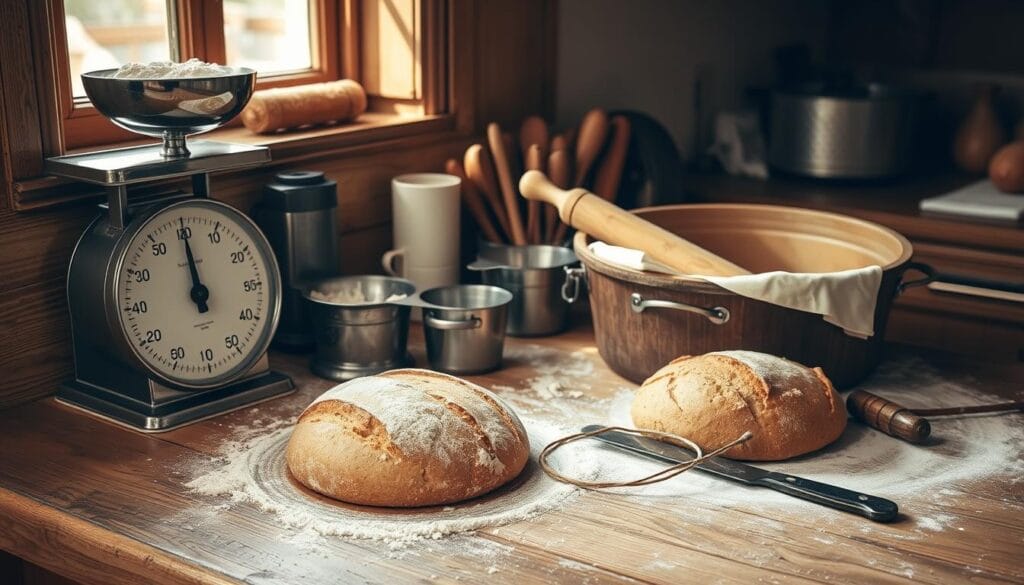
Making delicious homemade bread needs a few key ingredients. Using King Arthur unbleached all-purpose flour ensures your bread will taste great and have the right texture. This flour, water, salt, and active dry yeast are the basics for making classic bread.
For sourdough fans, creating and caring for a sourdough starter is key. This starter, full of wild yeast and bacteria, gives sourdough its unique taste and rise.
- King Arthur unbleached all-purpose flour – Gives the dough strength and structure
- Whole-wheat flour – Adds a nutty flavor and extra nutrients
- Water – Hydrates the dough and wakes up the yeast
- Salt – Boosts flavor and keeps yeast in check
- Active dry yeast or sourdough starter – Makes the bread rise
“Quality ingredients are crucial for achieving the best flavor and texture in homemade bread.”
With these bread ingredients, you’re ready to bake amazing loaves. Whether you’re new to baking or have lots of experience, the first step is choosing the right ingredients.

Mastering Sourdough Starter Techniques
Making your own sourdough starter is a fun journey into artisanal baking. It’s a mix of wild yeast and bacteria that gives sourdough its unique taste and texture. Whether you’re new or experienced, learning how to care for your starter is key to perfect bread.
Creating Your Own Sourdough Starter
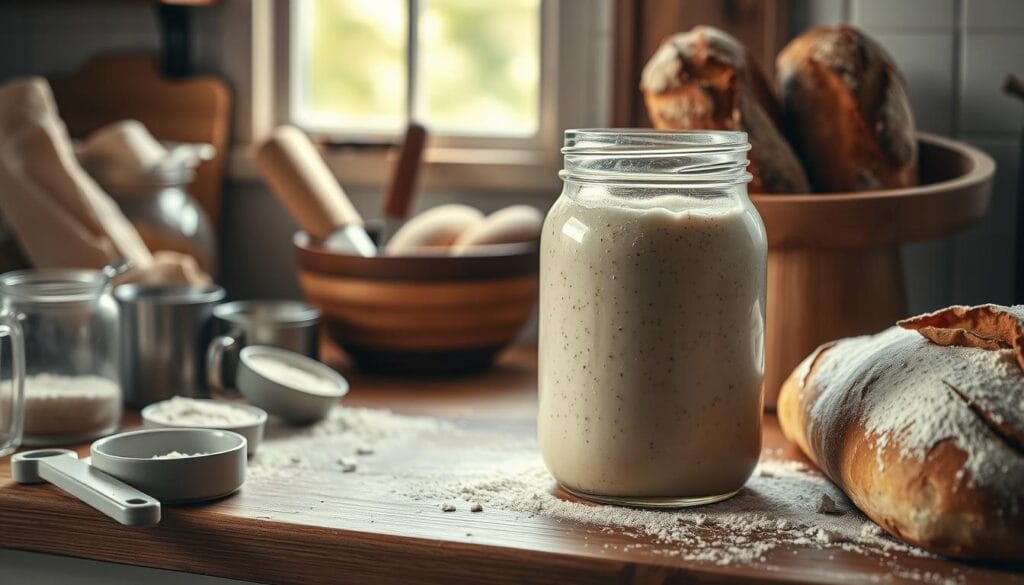
Starting a sourdough starter is simple. You just need flour, water, and time. Mix equal parts of both in a clean jar. Then, let it sit at room temperature for 5-14 days, feeding it flour and water regularly.
Watch it grow, doubling in size in 6-8 hours. This shows it’s alive and active.
Maintaining and Feeding Your Starter
- Feed your sourdough starter twice a day or once a week if you store it in the fridge for consistent results.
- Throw away some of the starter before feeding to keep the right balance of nutrients and microorganisms.
- Use the starter you discard in recipes like pancakes, waffles, or baked goods to reduce waste.
Troubleshooting Common Starter Issues
Every sourdough starter faces challenges, but with some troubleshooting, you can overcome them. If your starter isn’t rising or smells bad, try adjusting its feeding schedule, temperature, or how wet it is. Adding whole grain flour can also perk up a slow starter.
Be patient and keep trying, and you’ll soon have a strong, versatile sourdough starter.
“The secret to great sourdough lies in the starter – nurture it with care, and it will serve you well for years to come.”
Learning to care for your sourdough starter is the first step to baking amazing bread. With practice and the right techniques, you’ll soon make the perfect sourdough loaf, from start to finish.
Classic King Arthur Bread Recipes for Beginners
Aspiring bakers, rejoice! King Arthur Flour has a variety of classic bread recipes perfect for beginners. These recipes are great for anyone new to bread making or looking to try something new.
The Classic White Sandwich Bread is a great choice for beginners. It makes three loaves of crusty bread with just five minutes of work. The dough can rest in the fridge for up to two weeks, so you can bake fresh bread whenever you want. King Arthur’s high-protein flour is recommended for the best results.
The No-Knead Bread is another fantastic option. It’s easy because it doesn’t need kneading. The dough is mixed, left to rise, and then baked. Using lukewarm water, about 100°F, helps activate the yeast well.
- Recipe makes three loaves of crusty artisan bread
- Dough takes just five minutes to make
- Dough can rest in the fridge for up to two weeks
- All-purpose flour recommended, particularly high-protein flour such as King Arthur for better results
- Lukewarm water at about 100°F ideal for activating the yeast
- Bread to be baked at 450°F for approximately 30 minutes
- Bread is best enjoyed fresh on the day it is made
- Bread can be frozen in airtight containers for up to 1 month
With these classic king arthur bread recipes and a bit of practice, beginners can become skilled bakers. Start your bread-making journey and watch your culinary skills grow!
Traditional Sourdough Bread Recipe
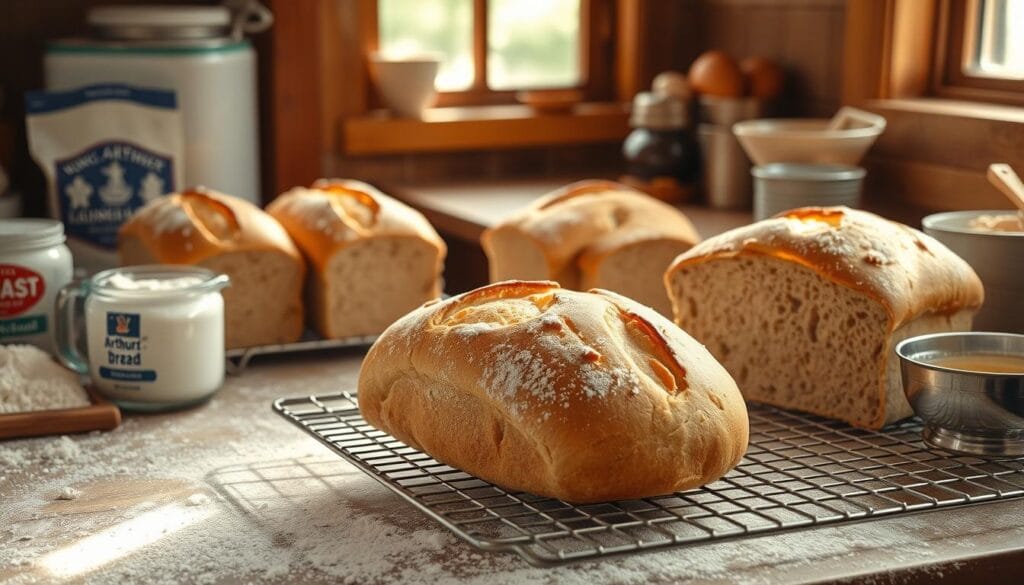
Discover the secrets of making artisanal sourdough bread with this classic recipe from King Arthur Flour. This bread is a masterpiece of patience and precision. It has a golden crust and a perfect crumb.
Ingredient List and Measurements
- 450g King Arthur Bread Flour
- 300g Water
- 100g Active Sourdough Starter
- 10g Salt
Step-by-Step Mixing and Kneading
Start by mixing the bread flour, water, sourdough starter, and salt in a big bowl. Mix until a shaggy dough forms. Let it rest for 30 minutes.
After resting, knead the dough for about 10 minutes. It should become smooth and elastic. Do three stretch and folds during the 5-hour bulk fermentation at 75°F (24°C).
Proofing and Baking Guidelines
After the bulk fermentation, shape the dough. Place it in a parchment-lined bowl or banneton. Let it proof for 2 to 4 hours at room temperature or overnight in the fridge.
Preheat your oven to 500°F (232°C) with a Dutch oven inside. Score the dough. Bake covered for 20 minutes, then 30-35 minutes uncovered. Bake until the internal temperature is 205-210°F (96-99°C). This recipe makes one 900g loaf of sourdough bread with a crisp crust and chewy crumb.
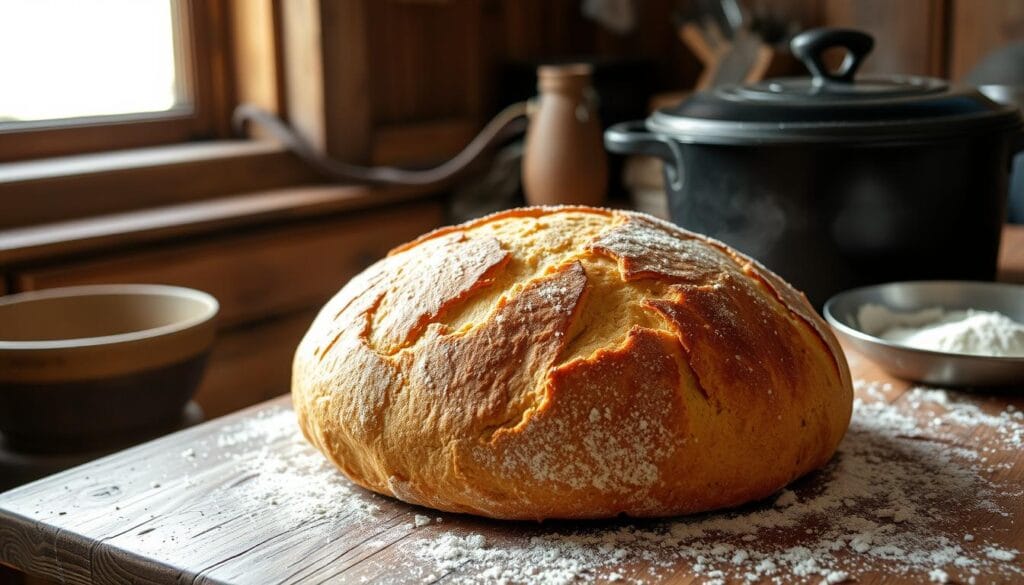
“Sourdough bread baking is a true art form, and this recipe from King Arthur Flour captures the essence of traditional sourdough perfectly.”
No-Knead Everything Bread Guide
Baking homemade bread can be rewarding, but kneading can seem daunting. The no-knead bread technique makes it easy, perfect for busy bakers. This guide will show you how to make delicious no-knead everything bread, blending the taste of an everything bagel with the ease of no-knead.
The simplicity of this bread is its key. Mix 3 cups of flour, 1 teaspoon of salt, and 1 teaspoon of yeast. Add 1 1/2 cups of lukewarm water until a shaggy dough forms. Let it rest at room temperature overnight or for 8 hours, allowing it to become sticky and bubbly.
After resting, shape the dough and put it in a greased 14″ to 15″ long lidded stoneware baker or a 9″ to 10″ round lidded baking crock. Cover it and let it rise for 2 hours. Sprinkle the top with an everything bagel topping for that special flavor.
Preheat your oven to 450°F. Bake the bread covered for 50 minutes. Then, remove the lid and bake for 5 to 10 minutes more, until the crust is golden brown.
“The no-knead everything bread recipe is a game-changer for home bakers, offering a simple yet delicious way to enjoy the flavors of an everything bagel with minimal effort.”
This no-knead everything bread has a crispy crust and a soft, chewy interior. It’s perfect for fresh eating, sandwiches, toasts, or dipping in soup. It’s been made over 5,000 times, showing its popularity and ease.
The secret to success is the long resting time. It lets the dough develop flavor and texture. Follow the baking instructions closely, and you’ll get a delicious loaf of no-knead everything bread that will wow your family and friends.
Honey Walnut Bread: A King Arthur Specialty
Try King Arthur’s famous Honey Walnut Bread for a taste of luxury. This bread is a hit with both new and seasoned bakers. It’s sweet, crunchy, and a joy to make and eat.
Mixing and Preparation Steps
Begin by mixing yeast with flour, honey, oil, and salt. Knead the dough until it’s smooth and elastic. Let it rise for 12-18 hours.
After the first rise, add toasted walnuts. Shape the dough into loaves and let it rise again for 45 minutes.
Baking Tips for Perfect Results
Heat your oven to 400-425°F. Bake the Honey Walnut Bread in a Dutch oven for 30 minutes with the lid on. Then, remove the lid and bake for another 15 minutes.
This method gives you a crusty outside and a soft inside. It makes the bread a true delight.
“The Honey Walnut Bread is a true showcase of King Arthur’s commitment to quality and innovation. It’s a must-try for any bread lover.”
The Honey Walnut Bread smells amazing and tastes even better. It’s great for sandwiches, toast, or just with butter and honey. Enjoy the sweet honey and crunchy walnuts in this King Arthur specialty bread.
Advanced Bread Shaping Techniques
Take your bread baking to the next level with advanced techniques! Learning to shape bread can turn your homemade loaves into stunning works of art. You can make classic boules, elegant bâtards, or intricate braids. The secret is in understanding surface tension and gentle handling.
Begin by shaping your dough softly, without over-working it. This keeps the air bubbles inside, making your bread light and airy. Try out different shapes like boules, bâtards, or braids to see what you like best.
To make a boule, shape the dough into a ball. Use your hands to build up the surface tension. For a bâtard, stretch the dough into an oval and fold the ends under. Braids are made by dividing the dough into strands and weaving them together carefully.
Remember, mastering bread shaping takes patience and practice. Enjoy the process and let your creativity show in every loaf. With these advanced techniques, you’ll impress everyone with your artisanal bread.
“Bread shaping is an art form that requires a delicate touch and an eye for detail. With practice, you’ll unlock the secrets to creating beautiful, bakery-worthy loaves right in your own kitchen.”
Understanding Fermentation and Proofing
Bread-making is both an art and a science. Fermentation and proofing are two key stages. Fermentation helps develop flavor and structure. Proofing makes sure the dough rises just right before baking.
Temperature Control
Keeping the right temperature is vital for yeast activity. The best temperature for fermentation is 75°F to 78°F. If it’s cooler, like 63°F, fermentation slows down.
To warm up your space, try using your dryer as a proofing area. This is what the author did.
Timing Guidelines
- The first rise, or bulk fermentation, usually takes 1-2 hours. This depends on the recipe and the environment.
- The final proofing stage, where the dough is shaped and rises again, takes 30-45 minutes.
- Check if your dough is ready by using the “finger-poke” test.
Mastering fermentation and proofing is crucial for a perfect loaf. By controlling temperature and following timing, you’ll bake bread that’s tasty and looks great.
“The high hydration sourdough bread recipe maintains an 80% level of hydration, with 80 grams of water for every 100 grams of flour.”
Storing and Preserving Your Homemade Bread
Keeping your homemade bread fresh is a delicate task. Whether it’s a soft sourdough or a crusty loaf, the right storage is crucial. Here are some tips to keep your bread tasty and fresh for days.
For soft sourdough, store it in an airtight bag at room temperature. This keeps it fresh for up to a week. Its natural pH also fights mold, making it last longer than other breads. Crusty sourdough, however, should be stored uncovered for up to 12 hours to keep its crunch.
Whole-grain sourdough loaves stay fresh longer due to their moisture. To keep crusty sourdough moist overnight, cover it with a cake cover or large bowl. This helps keep the inside moist while crisping the crust.
“Properly frozen and thawed bread is about 90% as good as freshly baked bread, making it a great method for preserving bread for later consumption.”
Freezing is a great way to store bread for longer. Slice the bread into groups of two or four before freezing. Thawing at room temperature is better than the microwave to keep the texture right.
Proper bread storage and preserving homemade bread requires attention. But the effort is worth it. From airtight containers to freezing, the goal is to enjoy your bread at its best, whenever you slice into it.
Troubleshooting Common Baking Issues
Baking bread can be very rewarding, but even experts sometimes face problems. Issues like dense crumbs, poor rise, and gummy textures are common. Knowing how to fix these problems is crucial for making great bread every time.
Dealing with a Dense Crumb
A dense crumb often comes from a weak starter or overproofing. Make sure your sourdough starter is healthy and well-fed. Also, watch how long your dough proofs, as too long can make it dense and flat.
Reviving an Overproofed Dough
Too long proofing can make dough flat and gassy. But, you can fix it! Just gently reshape the dough and let it rise again before baking. This extra rise can make your bread better.
Avoiding Gummy Bread
Gummy bread usually happens because of wrong oven temperature. Make sure your oven is at the right temperature and the bread bakes long enough. Salt won’t harm yeast, so you can add it safely.
Selecting the Right Bread Pan
The right bread pan is key for a good rise and look. Use the correct size pan for your recipe. The wrong pan can cause uneven baking and a lopsided loaf.
By tackling these common bread baking problems and using the right troubleshooting methods, you’ll make perfect artisanal bread at home.
Seasonal Bread Baking Tips
As a home baker, embracing the seasons can add remarkable depth and variety to your bread baking repertoire. From autumnal pumpkin puree to the festive dried fruits of winter, seasonal ingredients can transform your creations and delight your senses. Adjust your recipes and techniques to match the changing climate, and let the bounty of nature inspire your seasonal bread baking.
In the fall, incorporate pumpkin puree or spiced apple butter into your doughs for a touch of autumnal warmth. During the winter holidays, dried cranberries, apricots, and figs can lend a delightful sweetness to your breads. And as spring arrives, fresh herbs like rosemary, thyme, or chives can elevate your loaves with fragrant accents.
Don’t forget to adjust your hydration levels as the seasons shift. In the humid summer months, you may need to reduce the water content of your dough to prevent a sticky, unmanageable texture. Conversely, drier winter air may call for a higher hydration to maintain the bread’s softness and flexibility.
- Embrace seasonal ingredients like pumpkin, dried fruits, and fresh herbs to add variety to your bread baking
- Adjust hydration levels to account for changes in temperature and humidity throughout the year
- Experiment with seasonal flavors and aromas to create unique and memorable baked goods
“Baking bread is both an art and a science, and embracing the seasons is a key part of mastering the craft. Let nature’s bounty inspire your creativity and delight your senses with every slice.”
By thoughtfully incorporating seasonal elements into your bread baking, you’ll not only elevate the flavors and aesthetics of your creations but also cultivate a deeper connection to the rhythms of the year. Embrace the changing seasons and let your baking journey be a celebration of nature’s bounty.
Creating Your Weekly Baking Schedule
Creating a baking schedule is crucial for making great homemade bread. Start by setting up a bread making routine that suits your life. The night before, feed your sourdough starter to get it ready for baking.
In the morning, mix your dough and let it ferment all day. This step lets the flavors grow and the dough get stronger. After the day, shape your loaves and let them rise. Then, bake them in the evening for warm, fresh bread.
Adjust your baking schedule to fit your needs and schedule. Some like to bake in the morning, others in the evening. Try different times to find what works best for you.
“Consistency is key when it comes to bread baking. Developing a reliable routine will help you get the best results every time.”
Whether you bake every day, once a week, or somewhere in between, sticking to a schedule is important. Soon, making delicious homemade bread will become second nature.
The more you bake, the more comfortable and skilled you’ll become. So, make time each week to enjoy baking your own bread at home.
Conclusion
King Arthur Flour is a trusted name in home baking, with a history since 1790. It helps both seasoned bakers and beginners. They offer many resources for delicious, consistent results.
King Arthur Flour has classic recipes like white sandwich bread and focaccia. They also teach advanced techniques like sourdough and artisanal bread shaping. This empowers home bakers to make a variety of baked goods.
Quality ingredients and tested instructions are key. You can try king arthur bread recipes with confidence. Tailor them to your needs and likes.
The secret to home baking success with King Arthur Flour is practice and patience. Enjoy the process, try new things, and don’t worry about mistakes. They’re part of the learning journey.
With King Arthur Flour’s help, your baking skills will grow. Your home will fill with the smell of freshly baked bread.
FAQ
Why is King Arthur flour recommended for bread baking?
What essential equipment is needed for home bread baking?
What are the key ingredients for King Arthur bread recipes?
How do you create and maintain a sourdough starter?
What are some simple bread recipes for beginners?
How do you shape different types of bread?
How can you troubleshoot common bread baking issues?
How can you adapt King Arthur bread recipes for different seasons?
Leave a Review
There are no reviews yet. Be the first one to write one.

