Bake Perfect Dutch Crunch Bread at Home
Table of Contents
Every home baker dreams of baking the perfect loaf. Dutch crunch bread makes this dream come true. It offers a unique baking experience that will change your kitchen adventures.
Learning to make Dutch crunch bread is more than following a recipe. It’s about connecting with a centuries-old Dutch tradition. The bread’s tiger-like crust is a visual masterpiece that’s as delightful to look at as it is to eat.
Imagine pulling a freshly baked Dutch crunch bread from your oven. Its mottled crust crackles with each movement, releasing a wonderful aroma that fills your home. This isn’t just bread—it’s a culinary journey waiting to be explored.
Whether you’re a seasoned baker or a curious beginner, this guide will help you create stunning Dutch crunch bread in your kitchen. Get ready to improve your baking skills and impress everyone with an extraordinary loaf.
Introduction to Dutch Crunch Bread Origins
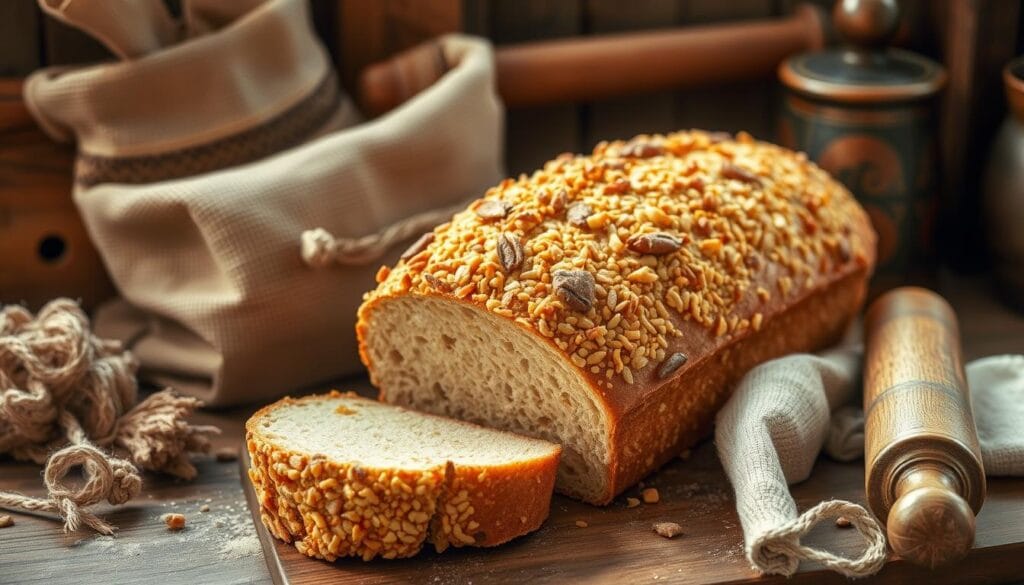
Dutch crunch bread, known by several fascinating names, has a rich history from the Netherlands. It started as a local treat and is now loved by many. It’s a favorite among sandwich fans everywhere.
The story of tiger bread began in the 1970s, rooted in Dutch baking traditions. Its unique look came from creative experiments during hard times.
“Tijgerbrood” – the original Dutch name – perfectly captures the bread’s distinctive tiger-like surface.
Key points about Dutch crunch bread’s origins include:
- First referenced in the U.S. during the 1930s in Oregon
- Gained significant popularity in San Francisco during the 1970s
- Brought to America by Dutch and Indonesian immigrants
- Created using a special rice flour paste topping
The bread’s texture comes from a rice flour paste topping. This paste creates a crackled surface that looks like a tiger’s stripes. It’s called tiger bread because of this.
Bakers found that the rice paste, when baked, makes a beautiful mottled pattern. This pattern makes dutch oven bread stand out from regular loaves.
While it’s a favorite in the San Francisco Bay Area, its popularity is growing. Sandwich chains like Ike’s Love and Sandwiches are introducing it to more people across the U.S.
A culinary journey from the Netherlands to your local sandwich shop!
Understanding Dutch Crunch Bread Characteristics
Dutch crunch bread is a special treat that offers a mix of amazing texture and taste. It turns a simple crusty bread into something truly special. This bread takes you on a journey of flavors and textures.
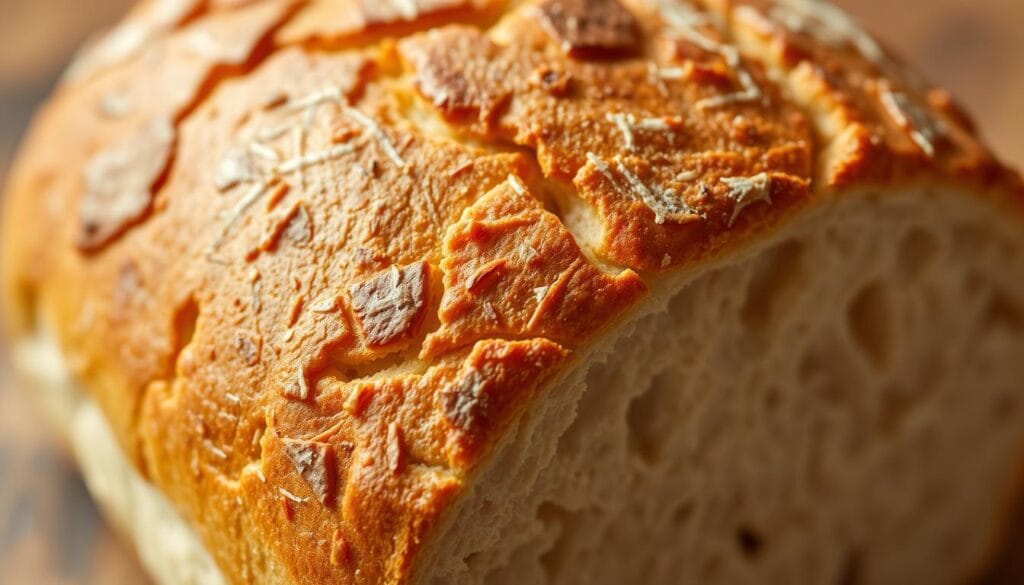
Exploring Dutch crunch bread reveals a unique contrast. It’s different from what you find in most bakeries.
Texture Profile
The texture of Dutch crunch bread is truly unique. It has:
- A soft, pillowy interior that melts in your mouth
- A crispy, crackled exterior with a distinctive tiger-like pattern
- Crunchy rice flour topping that creates visual and textural intrigue
- Delicate layers that provide a multi-dimensional eating experience
Flavor Notes
Dutch crunch bread also has a rich flavor profile. It goes beyond being just a crusty bread. The flavors include:
- Slightly sweet undertones from the rice flour coating
- Nutty hints that complement the bread’s core flavor
- A delicate balance between crisp exterior and tender crumb
“Dutch crunch bread transforms the ordinary into an extraordinary culinary experience.” – Artisan Baking Quarterly
Every bite of Dutch crunch bread is a treat. It’s a mix of textures and flavors that shows off the bread’s craftsmanship.
Essential Ingredients for the Perfect Loaf
Making the perfect Dutch crunch bread starts with the right ingredients. Each part plays a key role in creating a crispy top and soft inside. It’s all about understanding how they work together.
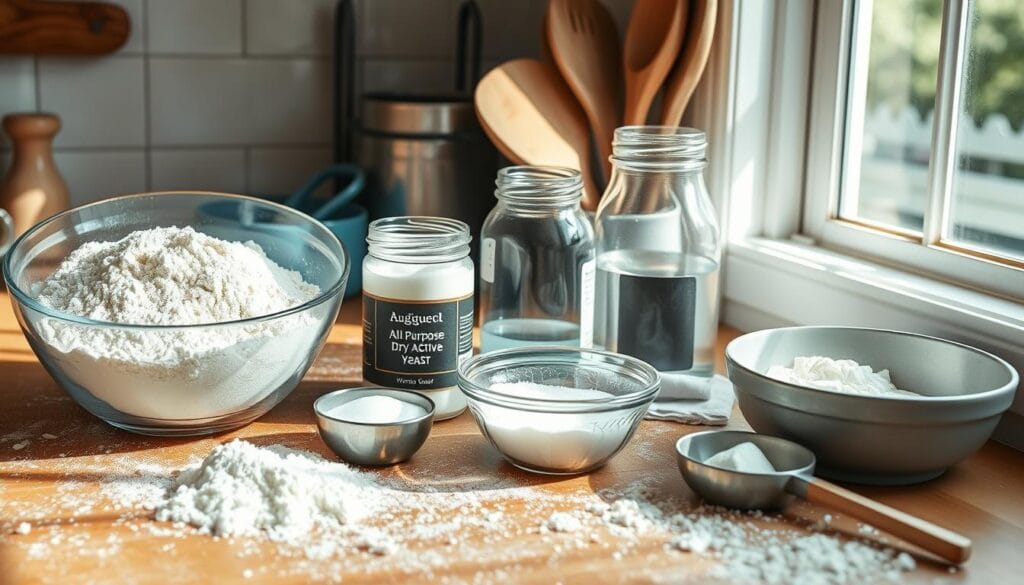
Quality ingredients are the base of great Dutch crunch bread. Here’s what you need:
- Bread Flour: King Arthur Bread Flour with 12.7% protein content provides the perfect structure
- Active dry or instant yeast for reliable rising
- Warm water (70-75°F) to activate the yeast
- Salt (approximately 2% of total flour weight)
- Honey (about 10% to balance flavor)
- Butter or neutral oil for richness
“The secret to exceptional bread baking lies in understanding your ingredients and their interactions.”
When mixing your ingredients, focus on the dough’s hydration. Aim for 63% hydration for a tender crumb. Success in bread baking comes from precise measurements and quality ingredients.
Pro tip: Use a kitchen scale for accuracy. Volume measurements can vary, but weight measurements provide consistent results every time.
Special Equipment and Tools Needed
Baking amazing bread needs the right tools. To start your Dutch crunch bread journey, get the essential equipment. It turns your kitchen into a real bakery.
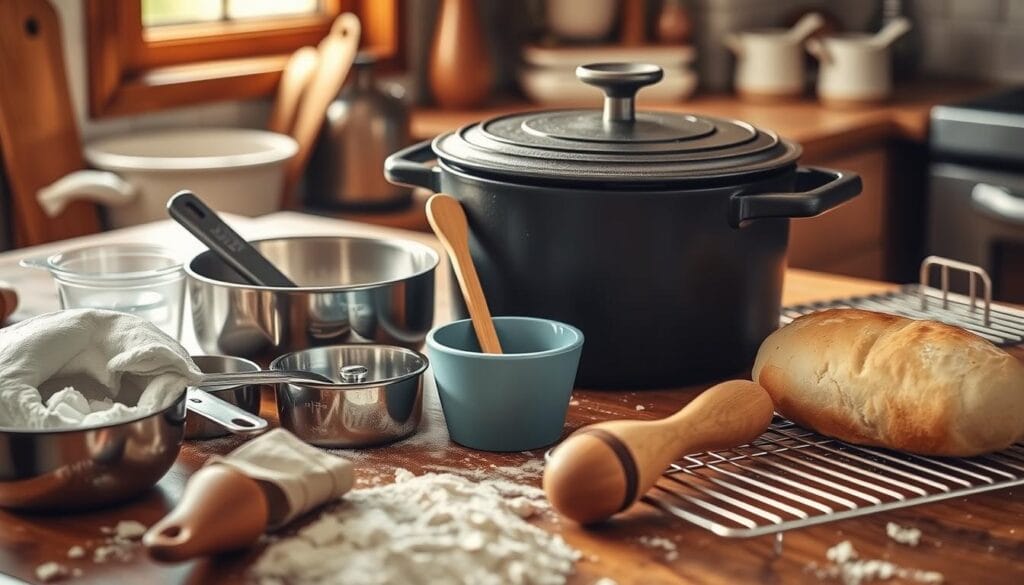
Essential Baking Tools
Every home baker needs a basic set of tools for tasty bread. Here are the must-haves:
- Large mixing bowl (preferably stainless steel)
- Accurate digital kitchen scale
- Measuring cups and spoons
- Dutch oven for optimal baking
- Sharp bread knife
- Proofing basket (banneton)
- Instant-read thermometer
Optional Equipment to Elevate Your Baking
These tools are not necessary but can make your baking better:
- Stand mixer with dough hook
- Bench scraper
- Baking stone
- Danish dough whisk
- Parchment paper
- Spray bottle for creating steam
“The right tools make bread baking not just a task, but an art form.”
Quality tools lead to better bread. They help you make professional Dutch oven bread at home. Each tool has a special role in making a delicious loaf.
Preparing the Signature Crunch Toppingf
Making the perfect dutch crunch bread topping is an art. It turns a simple loaf into a masterpiece. The rice flour topping adds a crackled look that’s both beautiful and exciting to touch.
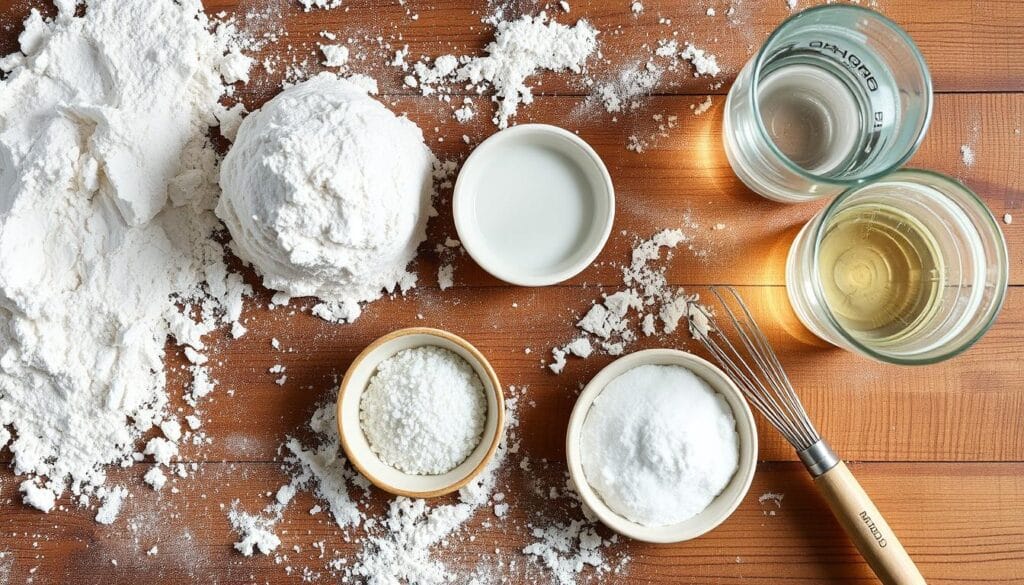
To make the perfect topping, you need a few special ingredients. They work together to create something magical:
- Rice flour (the star of the topping)
- Instant yeast
- Warm water
- Sugar
- Salt
- Toasted sesame oil
The key to a great topping is how you prepare it. Mix the ingredients until they’re smooth and spreadable. Let it rest for about 20 minutes at room temperature. This lets the flavors mix and the consistency improve.
“The crunch topping is more than just a coating – it’s a culinary tradition that transforms simple bread into an extraordinary experience.”
When you put the topping on, be gentle. Spread it evenly over your dough. Make sure it’s thin but even. As the bread bakes, the topping will crack and create that tiger-like pattern.
Pro tip: The warmer your kitchen, the more your crackle pattern will show during baking!
Step-by-Step Dutch Crunch Bread Recipe
Learning to make Dutch crunch bread takes time and attention to detail. This guide will help you through every step. You’ll learn how to make a delicious loaf with a unique crackled topping.
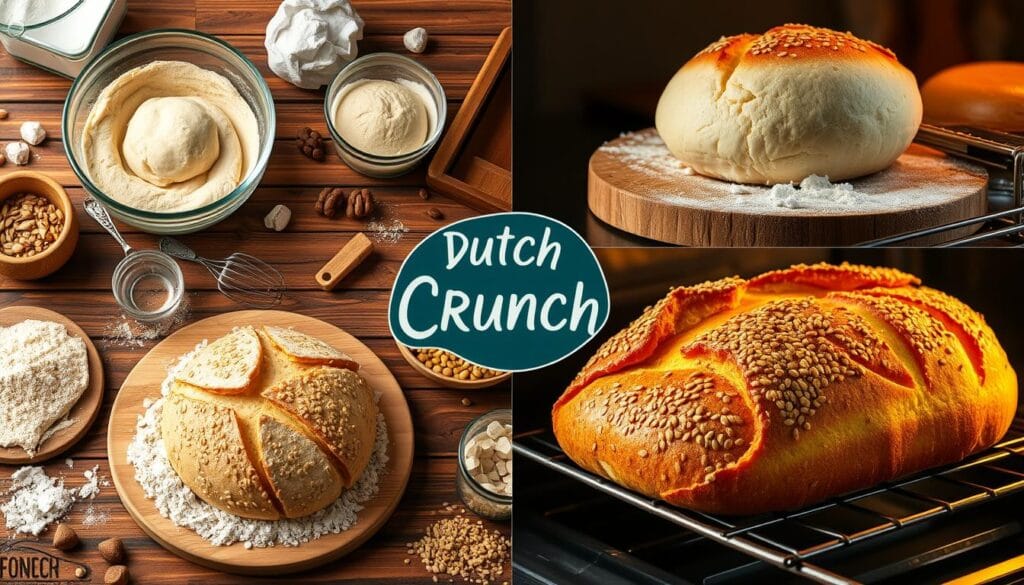
First, get all your ingredients ready. Make sure your kitchen is set up for baking. Success comes from following each step carefully.
Dough Preparation Essentials
Start your Dutch crunch bread journey with these critical preparation steps:
- Activate the yeast by mixing warm water (110-120°F) with sugar
- Combine bread flour, salt, and optional ginger in a large mixing bowl
- Add softened butter and activated yeast mixture
- Knead the dough for approximately 5 minutes until smooth and elastic
Shaping and Proofing Techniques
Once your dough is ready, focus on these important steps:
- Allow first rise for 1 hour until dough doubles in size
- Gently shape into loaves or rolls
- Perform second rise for another hour, leaving dough uncovered
- Prepare the signature rice flour crunch topping
“The magic of Dutch crunch bread lies in its unique textured crust and soft interior.” – Artisan Baker’s Handbook
To get the best results, keep the dough at 74°F to 78°F. Your hard work will pay off with a stunning bread.
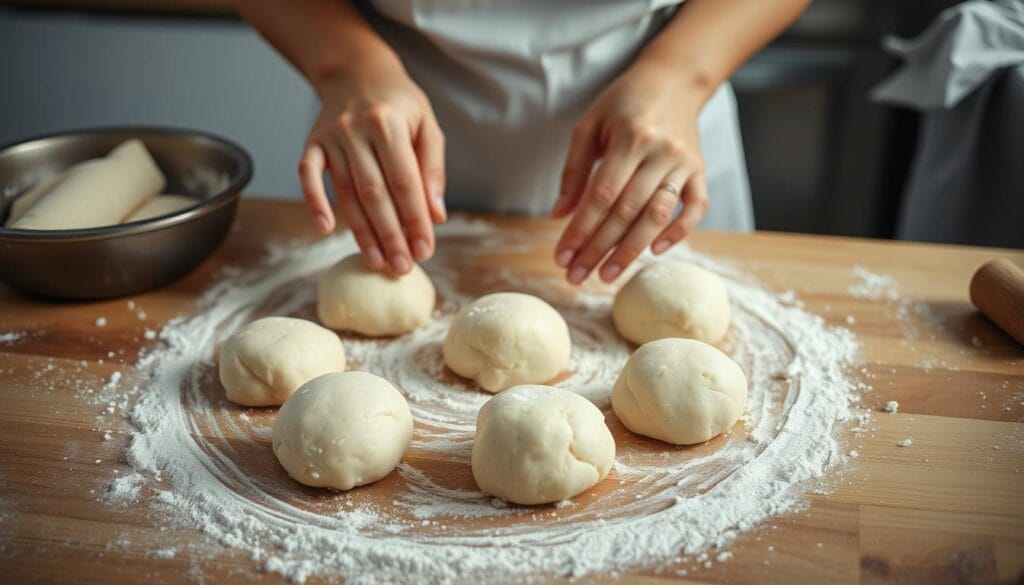
Remember, practice makes perfect with Dutch crunch bread. Each try will get you closer to making a bakery-quality loaf.
Mastering the Tangzhong Method
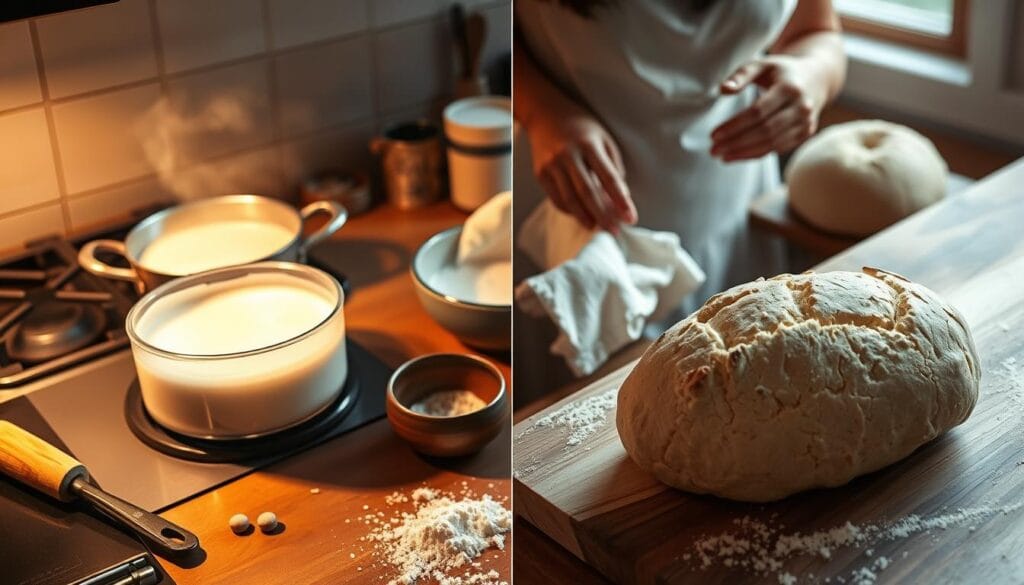
The Tangzhong method is a game-changer in bread baking. It turns your soft bread recipe into a true masterpiece. This Asian technique makes bread incredibly moist and tender by pre-cooking a small flour and liquid mix.
The core of the Tangzhong method is a special cooking step. It heats flour and liquid to 65°C (149°F). This pre-gelatinizes starches, keeping the bread moist during baking.
“The secret to incredibly soft bread lies in understanding how heat transforms flour’s structure.” – Artisan Baker’s Wisdom
To master the Tangzhong method, follow these steps:
- Cook flour and liquid for 3-5 minutes on low heat
- Stir continuously until the mixture thickens
- Allow the mixture to cool before incorporating into your dough
- Let the dough rise for 60-90 minutes
This technique brings amazing benefits. Your bread will be:
- Moisture-rich
- Softer and more tender
- Last longer
- Have better texture and taste
Patience is essential when using the Tangzhong method. Take your time with each step. You’ll get bread that’s far better than traditional methods.
Crucial Timing and Temperature Guidelines
Mastering Dutch crunch bread baking needs exact temperature and timing. Knowing these key points can make your baking at home much better.
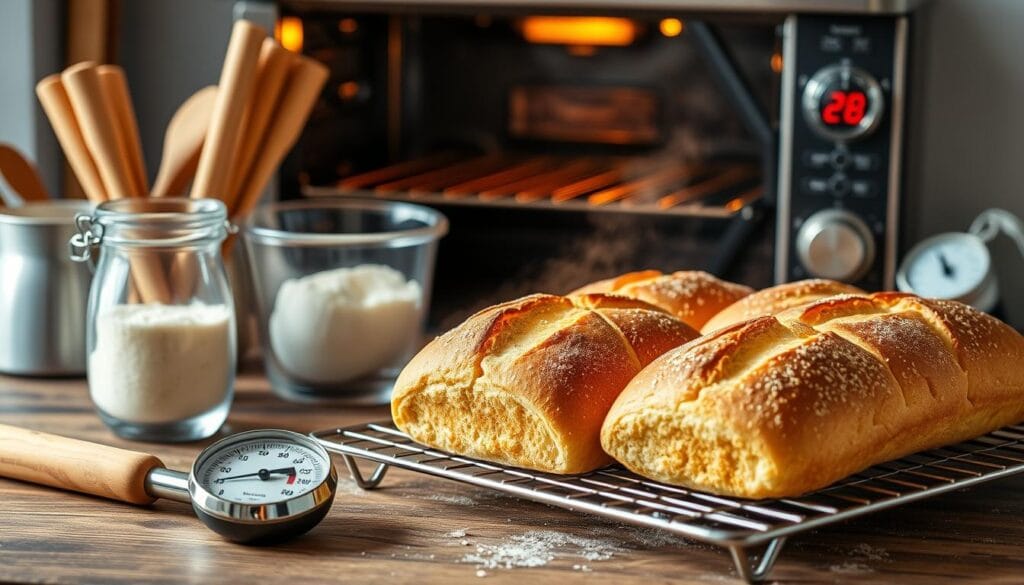
Temperature is very important in bread making. Here are some guidelines for perfect results:
Proofing Fundamentals
- Water temperature for autolysis: 80° to 85°F (27° to 29°C)
- Ideal fermentation range: 80–90°F (27–32°C)
- Recommended autolysis duration: 20 minutes
Your dough’s fermentation rate doubles with every 15°F temperature increase. This means watching the temperature closely can greatly affect your bread’s rise and texture.
Rising Time Insights
- At 70°F (21°C): Standard rising time of 1 hour
- At 55°F (13°C): Rising time extends to 2 hours
- At 40°F (4°C): Rising time increases to 4 hours
“Patience and precision are the secret ingredients in bread baking” – Professional Baker’s Wisdom
For Dutch crunch bread, aim for bulk fermentation. This means your dough should grow by about one-third in volume. It ensures the best flavor and texture.
Baking Temperature Recommendations
- Preheat Dutch oven to 450°F (230°C)
- Preheating duration: 30-45 minutes
- Initial covered baking time: 20 minutes
- Final uncovered baking: 25-35 minutes
- Target internal bread temperature: 206°-208°F (96°-97°C)
By following these precise tips, you’ll make a stunning Dutch crunch bread. It will impress all bread lovers.
Creating the Perfect Crust Pattern
Mastering the dutch crunch bread topping needs precision and skill. The tiger bread crust turns a simple loaf into a stunning and tasty bread. It’s a feast for the eyes and taste buds.
To get the iconic crackly surface, you must learn how to apply the rice flour topping. This special method creates the mosaic-like pattern that makes dutch crunch bread so famous.
- Select fine rice flour for the most delicate cracking effect
- Ensure the topping is evenly spread across the bread surface
- Apply the mixture just before baking for maximum crunch
“The secret to a perfect tiger bread crust lies in the consistency of your topping and precise application technique.”
The cracking happens during baking when the rice flour mixture dries and contracts. You aim for a thin, even layer. This will create the characteristic fracture lines.
- Mix rice flour with water and yeast to create a paste
- Spread the mixture gently over your prepared bread dough
- Bake at a consistent temperature to encourage natural cracking
Pro tip: The thickness of your topping directly impacts the final crust pattern. Experiment to find your preferred texture and appearance.
Baking Techniques for Optimal Results
To make great Dutch oven bread, you need to know about temperature and technique. Success comes from creating the right baking environment. This turns simple ingredients into a stunning loaf.
Temperature and steam are key when baking Dutch oven bread. Experts suggest:
- Preheat your Dutch oven for 45-60 minutes.
- Keep the oven at 475°F (230°C).
- Use steam for the first 20 minutes of baking.
“Steam is the secret weapon for achieving a professional-quality crust,” says artisan baker Michael Thompson.
Here are some steam techniques for home bakers:
- Soak three rolled dish towels in boiling water.
- Put a cup of ice in a cast iron pan with lava rocks.
- Cover the bread during the first baking stages.
Your bread’s interior should be about 204°F (95°C) for the best results. This ensures a crispy outside and a soft, airy inside.
Pro tip: Cold-proofing can affect crust thickness. Try different refrigeration times to find your perfect texture.
Troubleshooting Common Issues
Making the perfect dutch crunch bread can be tough. Even skilled bakers face problems. Knowing these issues helps you make a great loaf every time.
Texture Challenges in Dutch Crunch Bread
Texture issues can ruin your dutch crunch bread. Look out for these common problems:
- Dense Bread: Often caused by under-proofed dough or wrong flour amounts
- Soft Crust: Might happen if there’s not enough steam while baking
- Uneven Crunch Topping: Can occur if the topping is applied unevenly
Resolving Rising Difficulties
Proofing problems can affect your bread baking tips. Here are some tips for managing dough rise:
- Check yeast freshness before starting
- Keep the room temperature around 75°F
- Use warm (not hot) water when activating yeast
“Patience and precision are the secret ingredients in successful bread making.” – Professional Baker’s Wisdom
Remember, practice makes perfect in making dutch crunch bread. Every try gets you closer to mastering this bread technique.
Storage and Freshness Tips
Keeping your Dutch crunch bread fresh is all about the right storage. Your freshly baked loaf needs special care to keep its crispy topping and soft inside. Learning how to store Dutch crunch bread properly will help you enjoy it longer.
For short-term storage, keeping your bread fresh is key. Here are some important tips to keep your Dutch crunch bread tasty:
- Store at room temperature in a paper bag for 1-2 days
- Avoid plastic bags, which can make the crust soggy
- Keep away from direct sunlight and heat sources
Pro tip: The crispy rice flour topping is most delicate within the first 24 hours after baking.
Freezing is a great way to keep your bread fresh for longer. Wrap your Dutch crunch bread tightly in plastic wrap, then place in a freezer bag. When you’re ready to enjoy it, thaw at room temperature and briefly warm in the oven to restore its crisp texture.
To make day-old bread fresh again, try these quick tips:
- Spritz with water and warm in the oven at 350°F for 5-7 minutes
- Use a toaster oven to crisp up the crust
- Slice and toast for a crunchy breakfast treat
Remember, proper storage is key to maintaining the unique texture and flavor of your Dutch crunch bread.
Variations and Creative Adaptations
Exploring dutch crunch bread variations opens up a world of culinary creativity for baking enthusiasts. This unique bread is versatile, allowing for exciting adaptations. These changes can transform your baking experience.
For those seeking gluten free dutch crunch bread options, alternative flour blends can make this classic recipe accessible to everyone. Try these innovative variations:
- Herb-Infused Crunch Topping
- Add dried rosemary, thyme, or oregano to the rice flour coating
- Create savory flavor profiles with minimal effort
- Gluten-Free Adaptation
- Replace all-purpose flour with gluten-free flour blend
- Use xanthan gum for improved texture
- Flavor Experiment Options
- Incorporate spices like turmeric or paprika in the crunch topping
- Mix seeds into the rice flour coating for added texture
When preparing gluten free dutch crunch bread, remember that alternative flours might require slight adjustments in liquid ratios. Experiment with different combinations to find your perfect recipe.
“Creativity in baking is about understanding the basics and then fearlessly exploring new possibilities.”
Your dutch crunch bread variations can range from subtle tweaks to complete reinventions. The key is maintaining the signature crispy topping while exploring new flavor territories.
Conclusion
Your journey to make the perfect Dutch crunch bread is more than a recipe. It’s an adventure into the world of bread baking. Now, you have the knowledge to turn simple ingredients into a stunning loaf with a crispy, tiger-like topping.
Bread baking gets better with practice, and Dutch crunch bread is a great challenge. Every time you knead, proof, and bake, you learn more. You’ll understand how to balance hydration, temperature, and technique for amazing bread.
Keep going on your Dutch crunch bread adventure. Remember, patience and precision are key. The unique texture and rich flavor you get are worth all the effort. Don’t hesitate to try new things, adjust your methods, and make this recipe your own.
Share your bread with friends and family. Watch as your skills grow from beginner to expert. Your creativity in the kitchen has no limits. Enjoy every moment of baking Dutch crunch bread.
FAQ
What is Dutch crunch bread?
Why does the Dutch crunch topping crack?
Is Dutch crunch bread difficult to make at home?
Can I make Dutch crunch bread gluten-free?
How long does Dutch crunch bread stay fresh?
What makes the Dutch crunch topping unique?
Can I use the Dutch crunch topping on other types of bread?
What’s the difference between Dutch crunch bread and regular bread?
Leave a Review
There are no reviews yet. Be the first one to write one.

