Perfect Bread Dough Recipe: Tips for Homemade Success
As a passionate home baker, I love the joy of pulling a freshly baked loaf from the oven. Its crust crackles, and the aroma fills the air. But getting that perfect, bakery-quality bread dough can be tough. If you’ve ever had dense, heavy bread or inconsistent results, don’t worry. I’m here to share my secrets for making amazing homemade bread dough.
Baking bread from scratch might seem scary, but with the right techniques and practice, you can do it. In this guide, we’ll cover the key ingredients, the science of gluten, and how to get the perfect rise, crust, and crumb. Get ready to make your kitchen a place of homemade bread joy.
Table of Contents
Essential Ingredients for Perfect Bread Dough
Creating the perfect homemade bread starts with the right ingredients. The type of flour and yeast you use are key. Each ingredient affects the final result of your baking. Let’s explore the must-haves for bread-making success.
Understanding Flour Types
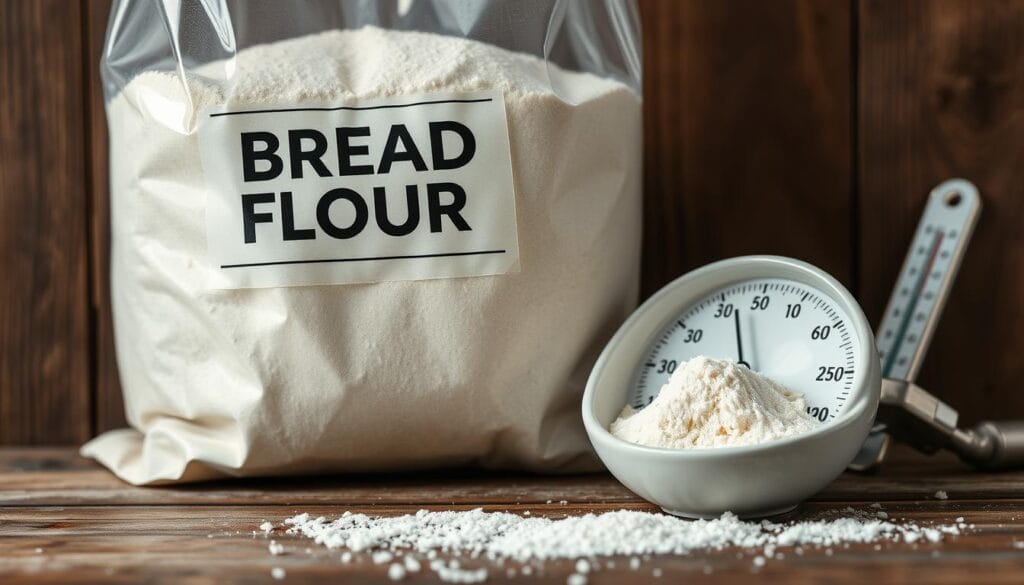
While all-purpose flour works for many recipes, bread flour is better for rise and texture. It has more protein, which helps the dough develop gluten. This makes the bread chewier and more structured. Choose flour with the bread flour label for the best results.
Yeast Selection and Activation
Yeast is essential for homemade bread. Opt for active dry yeast for its reliability. Before adding it to the dough, proof the yeast in warm water (105°F to 110°F) with a bit of sugar. If it becomes frothy, your yeast is ready to make the dough rise.
The Role of Water Temperature
The water temperature is critical for dough hydration. Aim for 105°F to 110°F to activate the yeast without killing it. Keeping the water temperature in this range ensures your dough rises well and has the right texture.
“The aroma of freshly baked bread is one of the most comforting and inviting scents in the world. It has the power to transport us back to our childhood, evoking memories of home and family.”
Mastering the Basic Bread Recipe
Baking homemade bread might seem hard, but the right easy bread recipe makes it easy. You can make delicious loaves in your kitchen. The basic bread recipe is the base for many favorite breads, like sandwich loaves and sourdough.
The basic bread recipe needs just a few ingredients: flour, yeast, water, salt, and sometimes sugar. You need 6 cups of flour and 2 cups of water to make two loaves. But, the exact amounts can change based on humidity and temperature.
- First, proof the yeast in warm water with a bit of sugar for about 5 minutes.
- In a big bowl, mix the flour, salt, and yeast mixture. Add the rest of the warm water slowly. Knead the dough until it’s smooth and elastic, about 5-10 minutes.
- Cover the dough and let it rise in a warm place for 90 minutes, or until it doubles in size.
- Punch down the dough to get rid of air bubbles. Then, shape it into your loaf and let it rise for 60-90 minutes.
- Bake the bread in a preheated oven at 375°F for 30-35 minutes. It should reach an internal temperature of 185°F.
With a bit of practice and focus, you’ll get the hang of the basic bread recipe. Enjoy the joy of making homemade, freshly baked bread.
“Baking bread is one of the most rewarding and satisfying tasks a home cook can undertake. The aroma of fresh-baked bread is simply irresistible.”
The Science Behind Gluten Development
Gluten development is key for making perfect bread dough. The protein in your flour is crucial for this. Bread flour has more of these proteins than all-purpose flour.
When you knead the dough, these proteins are developed. This makes the dough stretchy and elastic. It can then rise and keep its shape well.
Protein Content in Different Flours
The protein in your flour is very important for gluten development. Bread flour has more protein, making it better for strong gluten. All-purpose flour has less protein, making it easier for beginners to work with.
Kneading Techniques for Optimal Gluten
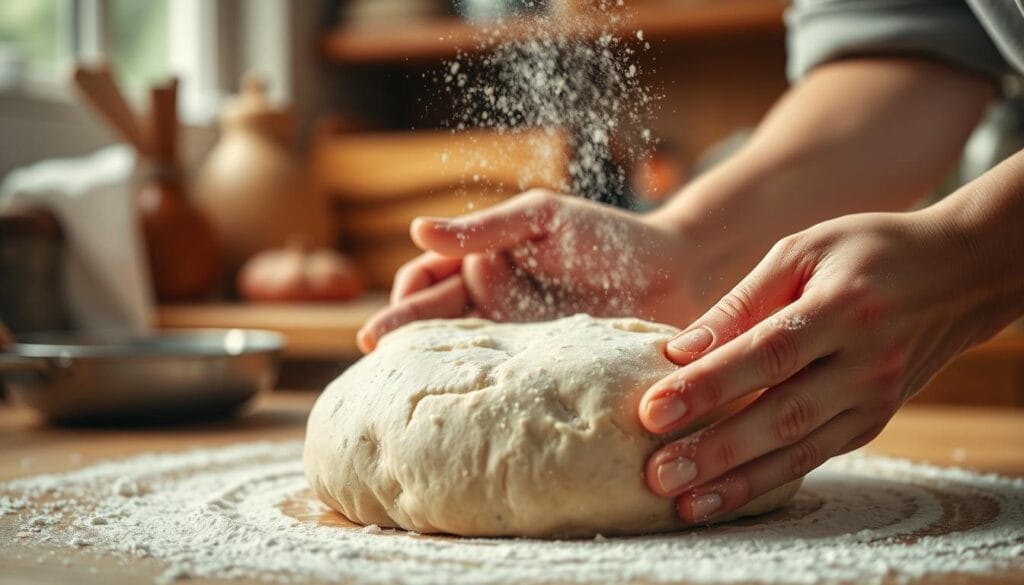
Proper kneading is essential for gluten development. Kneading aligns the gluten proteins, creating a strong network. This gives the dough its stretch and elasticity.
Two tests can check if your dough is kneaded enough. The windowpane test and the earlobe test are simple. If your dough passes these tests, you know the gluten is developed perfectly.
“Understanding the science behind gluten development is the key to consistently creating perfect bread dough.”
Temperature Control and Rising Times
To make perfect bread, you need to control the temperature and rising times well. Yeast makes bread light and airy. It works best in warm places, between 75°F to 85°F (24°C to 29°C).
For the best bread rising time, cover the dough with a warm, damp towel. This stops a tough crust from forming. Bread dough usually needs two rises. The first rise is 1 1/2 to 3 hours, and the second is 1 to 2 hours.
The dough temperature affects how fast it rises. Warmer dough rises faster, while cooler dough takes longer. For example, dough at 80°F (26°C) rises in 1 to 2 hours. But, dough in the fridge at 39°F (4°C) takes 10 to 16 hours.
- Proofing time at warm temperatures (75-85°F or 24-29°C) ranges between 1 1/2 to 3 hours.
- Cold proofing, or retarding, typically involves 8 to 16 hours in the refrigerator (39°F or 4°C).
- Proofing dough in the fridge for 10 to 16 hours can enhance the flavor of sourdough bread.
- Increasing proofing temperature speeds up fermentation, while extremely high temperatures (above 85°F or 29°C) can lead to overproofing.
“Monitoring dough temperature during bulk fermentation by using an instant-read thermometer is recommended for ensuring consistency.”
Keeping the right bread rising time and dough temperature is key for perfect bread. By understanding temperature and rising times, you can make delicious bread every time.
Professional Kneading Techniques and Tips
Learning to knead bread dough is key for a perfect homemade loaf. You can knead by hand or use a stand mixer. Knowing the right techniques is crucial.
Hand Kneading Methods
Hand kneading helps you understand the dough’s texture. Stand with your arms slightly bent, letting your weight push the dough away. Then, fold it back and turn it. Do this for about 10 minutes, resting your arms in between.
Machine Kneading Guidelines
Using a stand mixer with the dough hook attachment is efficient. It’s faster than hand kneading, saving time. Follow your mixer’s instructions and watch the dough, adjusting as needed.
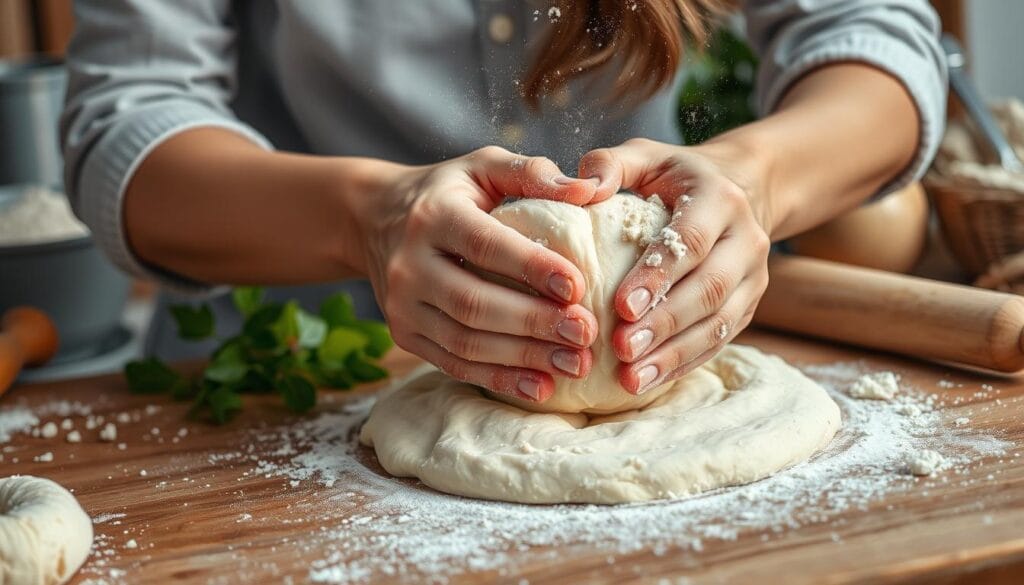
Good bread kneading techniques are vital for a soft, fluffy loaf. Whether hand or machine kneading, aim to develop the gluten. This will give your bread the right texture and rise.
Understanding Bread Dough Consistency
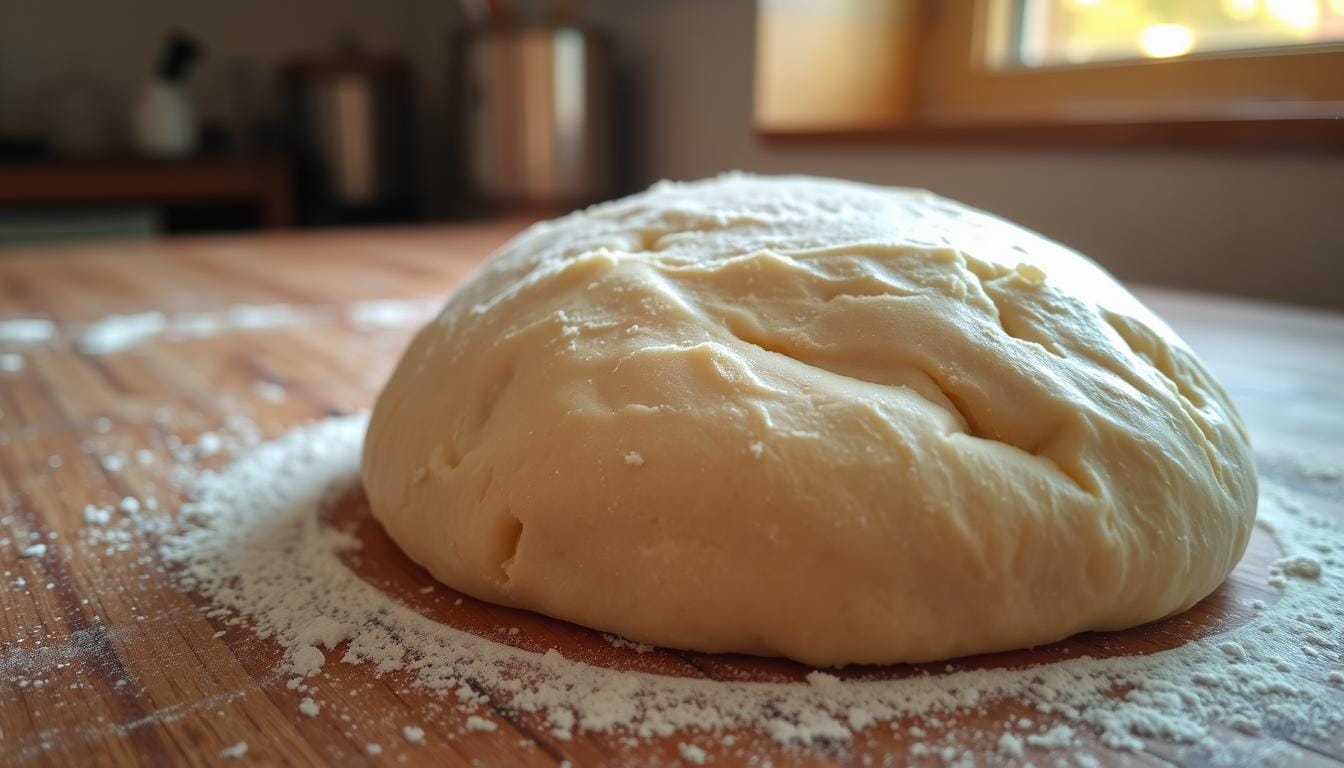
Baking the perfect loaf of bread starts with knowing your dough’s consistency. The dough’s texture greatly affects your bread’s final taste. It should feel soft, elastic, and smooth, like an earlobe when pinched.
To check your dough’s consistency, try the windowpane test. Stretch a small dough piece between your fingers. If it stretches thin without tearing, it’s ready. This means the gluten is developed well.
Also, a good dough pulls away from the bowl cleanly. This shows it has the right bread dough consistency and dough texture. It’s ready for the next step, ensuring a great rise and texture.
“The feel of the dough is one of the most important indicators of its readiness. A properly kneaded dough should be smooth, elastic, and supple, with a texture that’s reminiscent of a well-rested earlobe.”
Learning about the right bread dough consistency and dough texture helps you bake better bread. You’ll make loaves that are a joy to eat.
First Rise: Signs of Proper Fermentation
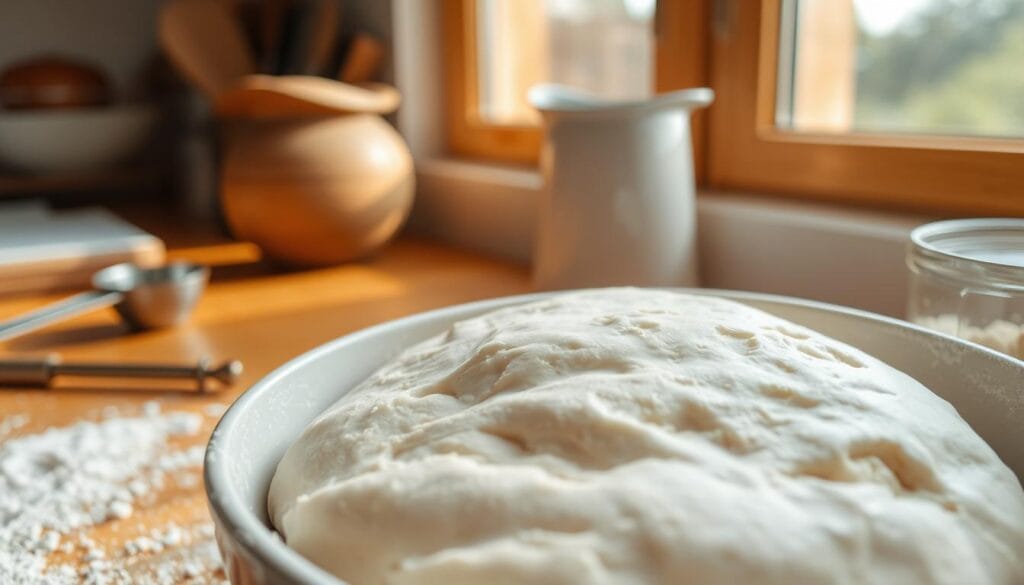
Learning to bake bread starts with mastering the first rise. This is when yeast makes your dough soft and full of flavor. You’ll see your dough grow, doubling in size, which means it’s done.
Visual Indicators of Ready Dough
Yeast eats the sugars in the dough, making it rise. A good rise makes the dough bigger, sometimes even tripling. To check if it’s ready, press your finger into it. If it doesn’t sink in, it’s ready.
The bowl will also feel lighter when you lift it. This shows the dough has risen well.
Temperature and Time Factors
The first rise time depends on the temperature and yeast activity. Keeping the temperature steady can make your bread 20% better. Dough rises faster at room temperature than in cold places.
The right time for fermentation varies. It’s usually 1 to 2 hours at 80°F (26°C), or 2 to 4 hours at 74 to 76°F (23-24°C). But watching how the dough looks and feels is key to knowing when to move on.
“The secret to great bread is in the fermentation. Pay close attention to the dough’s rise and you’ll be rewarded with a beautifully textured, flavorful loaf.”
Shaping and Forming Techniques
Turning bread dough into its final form is key in baking. From bâtard (oval) and boule (round) loaves to dinner rolls, shaping matters a lot. It affects the bread’s look and feel. Learning these bread shaping techniques can make your homemade bread look like it was made by a pro.
Preshaping is optional but helps the dough get stronger. It makes the dough easier to shape. After preshaping, the dough rests for 30 to 40 minutes. This lets it relax and become more pliable.
For dough forming, the bread type decides the method. For bâtard and boule, you stretch and fold gently. Dinner rolls, however, can be shaped in many ways, like rounds or knots.
Keeping the dough’s surface tight is key for a great oven spring and crust. Tools like proofing baskets and Dutch ovens help. They aid in making various artisan breads.
By getting good at these bread shaping techniques and dough forming methods, your homemade bread will impress. It will show off your baking skills and please your family with its looks and taste.
Second Rise: Perfecting the Final Proof
The second rise, or final proof, is crucial for a perfect homemade bread. The dough needs to rise and expand before baking. Make sure the proofing environment is right and the dough is ready.
Proofing Environment Setup
The best temperature for dough fermentation is 75°F to 78°F. But, your kitchen might be cooler, around 63°F. To warm it up, try using the oven light, a slow cooker, or a bread proofer. Some use a dishwasher or microwave. The goal is a consistent, warm temperature for rising.
Testing for Proper Proofing
- Well-proofed dough should have doubled in size and feel soft and supple when gently poked.
- Underproofed dough may result from using old yeast or incorrect water temperature. Place it in a warm, steamy environment to encourage further rising.
- Overproofed dough can be salvaged by kneading and reshaping before allowing it to proof again.
- Once proofed, be sure to score the top of the dough before baking to prevent the loaf from bursting during the final rise in the oven.
By creating the ideal proofing conditions and monitoring the dough’s readiness, you’ll be well on your way to perfectly risen and baked bread. Mastering the final proof is a key step in your homemade bread journey.
Creating the Perfect Crust
Making the perfect bread crust is an art that can take your homemade bread to the next level. It’s all about finding the right balance of baking temperature, humidity, and dough composition. With a few key techniques, you can create a crust that’s both crisp and full of flavor.
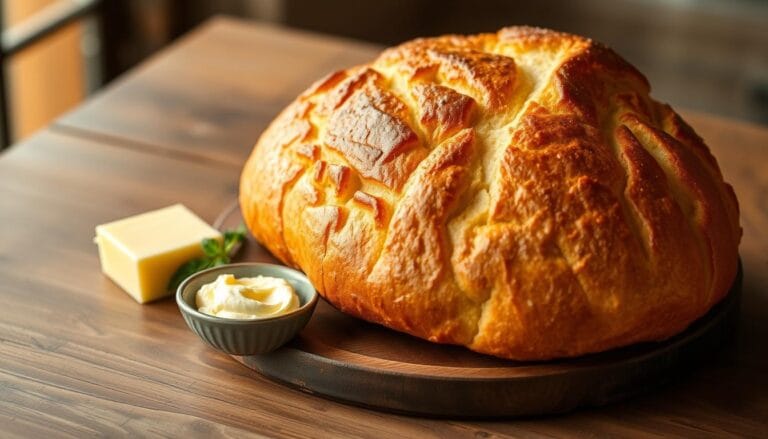
Steam in the oven is key for a crisp crust. Baking at high temperatures, like 425°F for 10 minutes then 375°F for 15-20 minutes, makes the crust flaky and slightly crisp. For a soft crust, bake at lower temperatures, around 325-350°F, for 45 minutes to an hour.
Brushing the dough with butter or milk before baking can also help. The fat keeps the dough’s gases in, ensuring it rises well and the crust softens. Covering the bread with a towel or bowl right after baking traps the steam, making the crust softer.
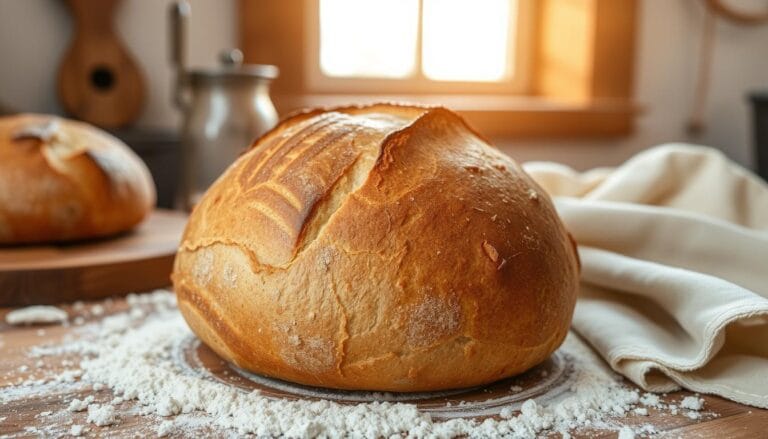
For a shiny, professional crust, try an egg wash or milk glaze before baking. This gives a beautiful golden-brown look. Or, dust the dough with flour for a rustic, artisan look.
“The perfect bread crust is the result of a harmonious blend of temperature, humidity, and dough composition. By mastering these bread crust techniques, you can elevate your homemade bread to new levels of perfection.”
The journey to the perfect bread crust is ongoing, but with practice and attention to detail, you’ll get there. Dive into the art of bread crust techniques and unlock your bread’s full potential.
Essential Tools for Bread Making
For baking delicious homemade bread, the right bread making tools and baking equipment are key. From mixing bowls to proofing baskets, each tool is vital for success. They help make your bread-making journey smooth.
A stand mixer like a KitchenAid or Bosch is a must for regular bakers. It kneads the dough and mixes ingredients well. For those who like to knead by hand, a strong mixing bowl and dough scraper are crucial.
- Measuring cups and spoons for exact ingredient measurements
- A reliable kitchen scale for precise flour and water amounts
- Baking pans or stones for the perfect crust
- Proofing baskets to shape and rise your dough
- A thermometer for the right water temperature for yeast
- A dough cutter in both 6″ and 8″ sizes for easy dough handling
- A flour sifter for recipes needing “high extraction flour”
For milling your own flour, a grain mill is a big help. It lets you make fine flour at low temperatures. Also, check out local farmers and millers for special flour to try.
“The right tools can transform your bread-making experience, elevating the quality and consistency of your homemade loaves.”
Whether you’re an experienced bread baker or new to it, the right bread making tools and baking equipment are essential. They ensure you make the perfect loaf every time.
Troubleshooting Common Dough Problems
Baking homemade bread can be rewarding but comes with challenges. Common issues like dense or heavy bread can be fixed by addressing the root causes. Let’s look at some effective ways to solve these problems and get your bread baking right.
Fixing Dense or Heavy Bread
Dense, heavy bread can be frustrating. It’s often due to underproofing or not kneading enough. To fix this, make sure you follow the recipe’s rising times and kneading steps. The dough should rise in a draft-free area between 85°F to 95°F. Proper kneading is key to developing the gluten.
Addressing Texture Issues
Uneven texture in bread can come from bad shaping or uneven oven temperature. Make sure you shape the dough right and keep the oven temperature steady. Fluctuating temperatures can mess up the rise and texture. Also, overproofing can make the dough collapse, leading to a dense, gummy texture.
By tackling issues like underproofing, not kneading enough, and temperature control, you can solve many bread problems. With practice and attention to detail, you’ll soon bake the perfect homemade bread.
“Baking is like washing dishes: the results are ephemeral, but the process is a meditation.” – Mary Berry
Advanced Bread Dough Variations
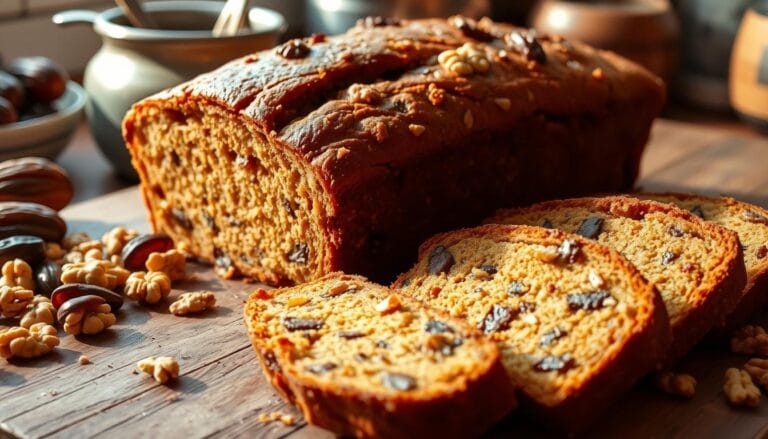
Explore the world of artisan bread recipes and specialty doughs. Try sourdough, whole grain, enriched doughs like brioche, and breads with nuts or dried fruit. Each one needs special care for the right texture and taste.
One key step is the autolyse. Mix flour and water, then rest it. This breaks down proteins, making the dough better. The rest time can be 15 minutes to an hour, based on the flour.
Using preferments like poolish or biga adds flavor and structure. These starters need planning but make your bread special. They give your bread a unique taste.
Try different flours like bread flour, whole wheat, and ancient grains. Each flour changes the dough’s texture and look. Experimenting with these artisan bread recipes and specialty bread doughs lets you show your bread-making skills.
Love sourdough’s tang, whole grain’s nuttiness, or brioche’s buttery taste? These techniques help you make unique loaves. Start your bread-making journey and enjoy baking artisan bread recipes and specialty bread doughs at home.
Storage and Preservation Methods
Storing your homemade bread right is key to keeping it fresh. Unlike store-bought bread, homemade bread doesn’t last as long. It usually stays good for 2-3 days at room temperature.
To keep your bread fresh longer, store it in a paper bag or bread box. This keeps the right humidity and temperature. Don’t put it in the fridge, as it can dry out faster.
For longer storage, slice your bread and freeze it. This keeps it fresh for up to 3 months. When you’re ready to eat it, thaw the slices at room temperature or briefly in the oven or toaster. This makes the bread crispy again.
FAQ
What are the key elements required for successful bread making?
What are the basic ingredients for bread dough?
What type of flour is best for bread making?
How should the yeast be tested for freshness and activity?
What is the typical ratio for a basic bread recipe?
Why is gluten development crucial for bread structure?
How should the dough rise, and what are the indicators of proper rising?
What are the proper kneading techniques for bread dough?
How can you determine if the dough is properly kneaded?
What are the common shapes for bread dough, and why is shaping important?
How can you ensure a crispy crust on homemade bread?
What are the essential tools for bread making?
How can you troubleshoot common bread-making issues?
What are some advanced bread dough variations to explore?
How should homemade bread be stored for maximum freshness?
Leave a Review
really usefull

