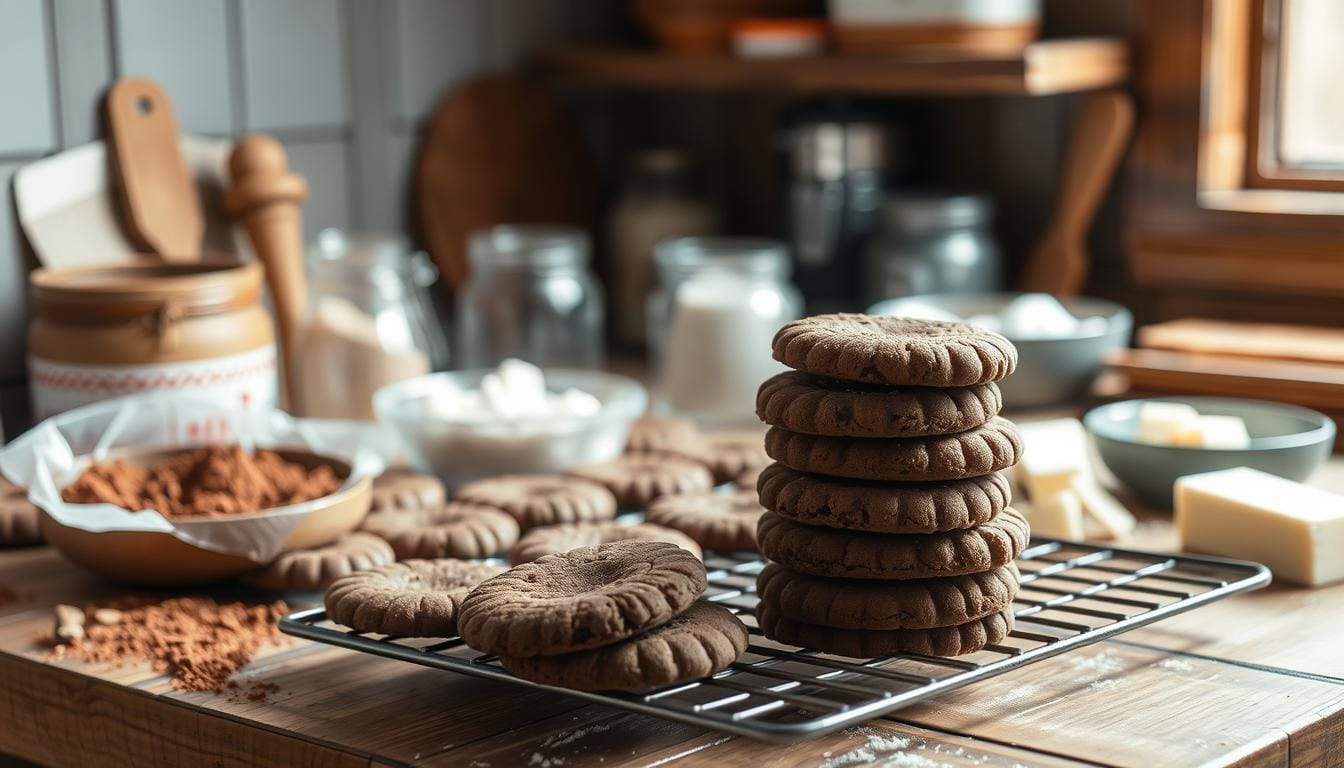
The Best Chocolate Wafer Cookies Recipe
Growing up, my grandmother’s kitchen was always filled with the magical smell of freshly baked chocolate wafer cookies. These thin, crispy treats were more than just a snack. They were a way to remember special moments with my family.
When Nabisco stopped making their Famous Chocolate Wafers after nearly 100 years, many bakers were sad. But don’t worry, this homemade recipe will fill that gap and make your baking even better.
Are you looking for a classic icebox cake or the perfect crumb crust? Or maybe you just want to make a nostalgic treat? This recipe will give you professional-level cookies right in your kitchen. With a few simple ingredients and the right techniques, you’ll make 40 delicious cookies that are better than any store-bought ones.
Get ready to learn how to make the most amazing homemade chocolate wafers. They will impress your family and friends and bring back the joy of baking at home.
Table of Contents
History of Nabisco Famous Chocolate Wafers
Nabisco’s Famous Chocolate Wafers are a beloved part of American baking history. They were launched in 1924. These thin, crispy cookies have been a key ingredient in desserts for many years.

The story of these chocolate wafer cookies is fascinating. Nabisco created them to make layered desserts that families love.
The Legacy of Famous Wafers in American Baking
These cookies quickly became essential in baking. They are great for:
- Creating classic icebox cakes
- Forming pie crusts
- Developing rich dessert foundations
“A thin, crisp cookie that transforms ordinary desserts into extraordinary experiences” – Vintage Nabisco Advertisement
Why Nabisco Discontinued Production
In 2023, Nabisco surprised everyone by stopping production. This move affected bakers looking for good substitutes.
The Cultural Impact of Classic Wafer Cookies
Even though they’re no longer made, Nabisco Famous Chocolate Wafers are a nostalgic symbol. They inspired many recipes and made memories for families.
Now, bakers look for other chocolate wafer substitutes. Options include Oreo Thins, graham crackers, and homemade recipes. They help keep dessert traditions alive.
Essential Ingredients for Perfect Chocolate Wafer Cookies

Starting your chocolate wafer recipe journey means picking top-notch ingredients. Each part plays a key role in making your cookies taste amazing.
Here are the main ingredients for your chocolate wafer cookies:
- 2 cups all-purpose flour
- 1 cup unsalted butter (2 sticks)
- Dutch-processed cocoa powder
- Confectioners’ sugar
- ⅓ cup heavy cream
- 1 teaspoon vanilla extract
The secret to great wafer cookies is in the ingredients. Dutch-processed cocoa powder gives a deep, rich chocolate taste. Unsalted butter helps control the salt and makes the cookies soft.
“Baking is a science, and each ingredient plays a critical role in creating the perfect chocolate wafer.” – Professional Baker’s Wisdom
Choose fresh, high-quality ingredients for the best taste. Confectioners’ sugar makes the cookies smooth and soft, perfect for melting in your mouth.
Pro tip: Always measure ingredients carefully. A balanced recipe is key to getting consistent, delicious results every time.
The Secret Behind Dark Cocoa Selection
Choosing the right cocoa powder can make your homemade chocolate wafers truly special. Not all cocoa powders are the same. Knowing the differences is key to baking great chocolate wafer cookies.

In chocolate wafer cookie baking, you’ll find two main types of cocoa powder. They greatly affect your cookies’ taste and look:
- Dutch-processed cocoa: Neutralized acidity, smoother flavor
- Black cocoa powder: Intense dark color, robust chocolate taste
- Natural cocoa powder: Slightly acidic, traditional chocolate profile
Understanding Dutch-Processed vs. Black Cocoa Powder
Dutch-processed cocoa is treated to soften its taste. This makes it milder and less bitter. Black cocoa powder, with its intense dark color, adds a strong chocolate flavor to your homemade wafers.
“The secret to remarkable chocolate wafers lies in understanding your cocoa’s characteristics.” – Baking Experts
Why Hershey’s Special Dark Makes a Difference
Hershey’s Special Dark Cocoa Powder is special for baking chocolate wafers. It mixes Dutch-processed and black cocoa powders. This blend gives:
- Rich, deep chocolate color
- Balanced flavor profile
- Consistent texture in homemade chocolate wafers
When picking cocoa powder, think about the flavor and color you want. Try different types to find the perfect chocolate wafer cookie for you.
Tools and Equipment Needed

Getting ready for your easy chocolate wafer recipe means collecting the right tools. The right equipment makes baking chocolate wafer cookies smooth and fun.
Here are the must-have tools for making tasty chocolate wafer cookies:
- Mixing equipment: Stand mixer or large mixing bowl with whisk
- Accurate measuring cups and spoons
- Rolling pin for creating uniform cookie thickness
- Parchment paper or silicone baking mats
- Cookie cutter or sharp knife for precise shaping
- Baking sheet with even heat distribution
“The right tools transform baking from a chore to a delightful culinary adventure.” – Baking Enthuasiasts Cookbook
Choose tools that are both quality and functional. A strong rolling pin ensures cookies are 1/8-inch thick. Parchment paper stops cookies from sticking and makes cleanup simple.
For exact chocolate wafer cookie baking, pick tools that are accurate and reliable. Digital kitchen scales help measure ingredients perfectly, improving your recipe’s consistency.
Professional bakers say to have these tools ready before starting your chocolate wafer cookie recipe. Being prepared is key to getting bakery-quality results at home.
Step-by-Step Chocolate Wafer Cookies Recipe
Making the perfect chocolate wafer cookies needs care and love. This simple recipe will make your baking a breeze. You’ll get cookies that are crispy and melt in your mouth.
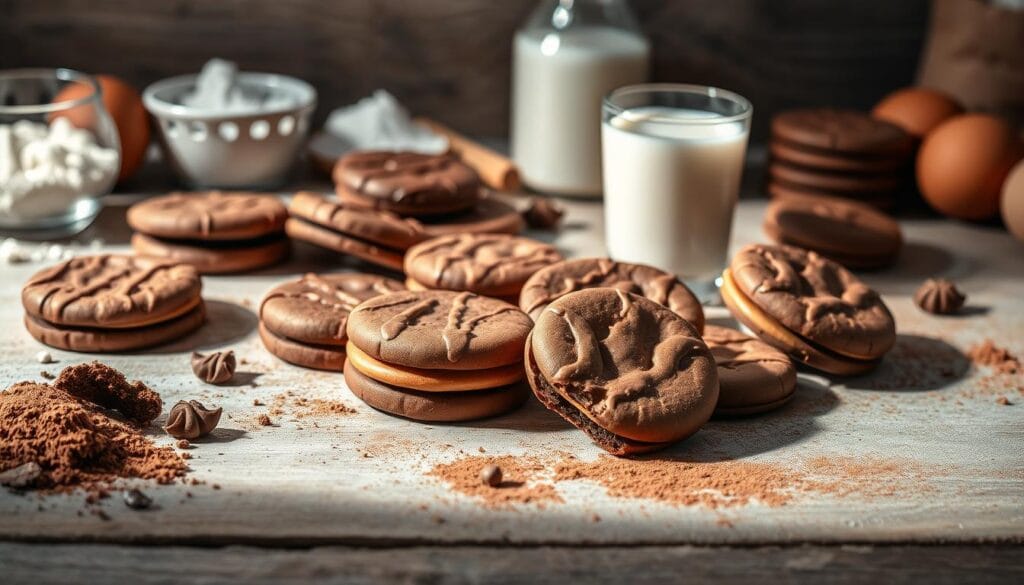
Mixing the Dough
Begin by getting the right ingredients. Mix 125g flour, 60g powdered sugar, 4g baking powder, and a bit of salt in a bowl. Measuring ingredients well is key to making great wafers.
- Sift dry ingredients thoroughly
- Use room temperature milk (130ml)
- Add 35ml vegetable oil gradually
Rolling and Cutting Techniques
Getting cookies to look the same is important. Chill the dough for 20 minutes to improve texture. Roll it out to about 1/8-inch thick on a floured surface.
“Precision is the secret to perfect chocolate wafer cookies” – Pastry Chef Recommendation
- Use a sharp cookie cutter
- Cut cookies with consistent size
- Transfer carefully to baking sheet
Baking Tips for Perfect Results
Bake at 350°F for 11 minutes. Keep an eye on them to avoid overcooking. They should be crispy and have a rich chocolate color.
- Preheat oven completely
- Use parchment paper
- Allow cookies to cool on wire rack
Your homemade chocolate wafer cookies are now ready to enjoy or use in desserts!
Achieving the Perfect Texture and Thickness

Making crispy chocolate wafer cookies needs careful technique and measurement. The key to the perfect texture is knowing how thickness affects your cookies. Roll out your dough to a consistent 1/8 inch to get even crispiness.
“Precision is the key to transforming good cookies into great ones.” – Professional Baker’s Wisdom
Your rolling technique is very important for the cookie’s texture. Here are some tips for making perfect chocolate wafer cookies:
- Use a sturdy rolling pin with even pressure
- Dust work surface with cocoa powder to prevent sticking
- Roll dough between two sheets of parchment paper
- Maintain consistent 1/8 inch thickness across entire batch
Temperature and baking time greatly affect cookie texture. Bake at 350 degrees Fahrenheit for 12-13 minutes. This ensures edges are crispy and centers are tender, just right for chocolate wafer cookie lovers.
Using high-quality cocoa powder makes a big difference in taste and texture. Professional bakers say Dutch-processed unsweetened cocoa gives the best results.
Why Confectioners’ Sugar is Superior to Granulated
Choosing the right sugar is key when making chocolate wafer cookies. Confectioners’ sugar is the top choice for creating delicate and crisp cookies. It’s what bakers aim for.

The Science Behind Sugar Selection
Confectioners’ sugar is better for baking chocolate wafer cookies. It has cornstarch, which stops clumping and makes the cookies smooth.
- Fine texture prevents grainy cookies
- Cornstarch helps control moisture
- Produces more delicate cookie structure
Impact on Cookie Texture
Confectioners’ sugar makes cookies light and tender. Its fine particles dissolve fast, making the dough smooth. This results in cookies that spread well and bake to a perfect crisp.
“The right sugar transforms good cookies into extraordinary ones.” – Professional Pastry Chef
Professional bakers see sugar as more than just an ingredient. It’s a key part of the cookie’s texture and taste. Confectioners’ sugar adds that special touch, making your cookies stand out.
Storage and Shelf Life Guidelines
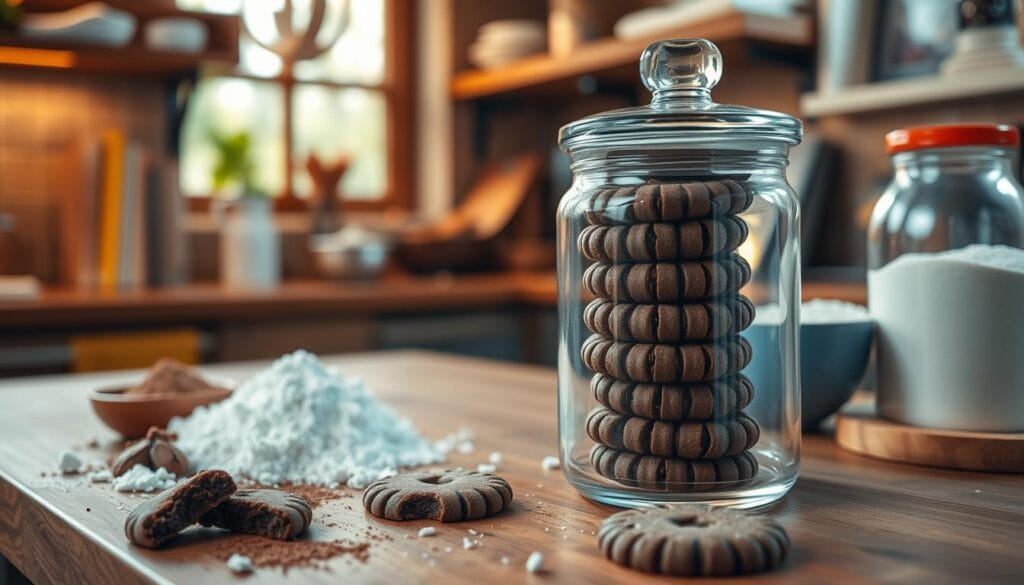
Mastering chocolate wafer cookie baking means knowing how to keep them fresh. Your homemade chocolate wafers need careful storage to stay crisp and flavorful.
There are several ways to store your freshly baked chocolate wafers:
- Room Temperature Storage
- Store in an airtight container
- Keep away from direct sunlight
- Maintain freshness up to 5 days
- Refrigeration
- Use sealed container or ziplock bag
- Prevents moisture absorption
- Extends shelf life to 7 days
- Freezer Storage
- Wrap cookies individually in plastic wrap
- Place in freezer-safe container
- Can preserve cookies for 3-6 months
“The secret to great homemade chocolate wafers is not just in baking, but in preserving their perfect crunch.” – Professional Baker’s Tip
Pro tip for reviving slightly softened cookies: Briefly crisp them in a preheated oven at 300°F for 2-3 minutes. This trick works wonders for restoring that delightful crunch in your chocolate wafer cookies.
Remember, proper storage ensures your chocolate wafer cookie baking efforts remain delicious and enjoyable for days or even weeks after baking!
Creative Ways to Use Chocolate Wafer Cookies
Chocolate wafer cookies are super versatile. They can turn simple recipes into amazing treats. These thin, crisp cookies have a rich chocolate taste and a unique texture.

Check out these fun chocolate wafer dessert ideas. They’ll make your baking stand out:
Classic Icebox Cake Technique
Make a simple yet stunning dessert by layering chocolate wafer cookies with whipped cream. The cookies get soft overnight, making the dessert feel like a cake. Just layer cookies and cream, then chill for hours.
- Stack cookies horizontally
- Add generous whipped cream between layers
- Chill for minimum 6 hours
- Garnish with chocolate shavings
Cookie Crumb Crust Applications
Turn your chocolate wafer cookies into tasty cookie crumb toppings for pies and cheesecakes. Crush the cookies finely and mix with melted butter. This creates a chocolatey base that’s perfect with creamy desserts.
Pro tip: Use chocolate wafer cookie toppings to add depth and crunch to your favorite desserts!
- Crush cookies into fine crumbs
- Mix with melted butter
- Press into pie pan
- Bake for 8-10 minutes
With these creative ideas, your chocolate wafer cookies will be the star of your desserts.
Troubleshooting Common Baking Issues
Chocolate wafer cookie baking can be tricky. But knowing common problems helps you make perfect treats every time. Research shows that 30% of baking challenges come from temperature and ingredient precision.
When making an easy chocolate wafer recipe, bakers often face several issues:
- Cookies spreading too much
- Uneven baking
- Dry or crumbly texture
- Inconsistent color
To prevent spread, start with proper dough preparation. Chilling your cookie dough for 4-24 hours significantly reduces spreading. Cold dough keeps its shape during baking, giving you more defined cookies.
“Precision is the key to perfect chocolate wafer cookies” – Professional Baker’s Wisdom
Temperature control is key. Your oven should be set at 415°F. An oven thermometer helps ensure accurate heat. Baking mats or parchment paper can also help prevent sticking and promote even browning.
- Use fresh ingredients
- Measure ingredients carefully
- Maintain consistent oven temperature
- Rotate baking sheets midway
Golden brown edges with a crisp texture mean your cookies are perfectly baked. If they seem too dry, try baking for 1-2 minutes less. Remember, practice makes perfect in chocolate wafer cookie baking!
Nutritional Information and Dietary Considerations
Knowing about chocolate wafer nutrition helps you choose better. A homemade chocolate wafer cookie has about 60-75 calories. This number can change based on the ingredients you use.
The nutritional breakdown is usually:
- Total Calories: 60-75 per cookie
- Fat Content: 3-4 grams
- Carbohydrates: 8-10 grams
- Protein: 1-2 grams
Looking for healthier options? There are many. Gluten-free options can be made with almond flour or coconut flour. These might change the nutritional values a bit.
“Moderation is key when enjoying delicious chocolate wafer cookies!” – Baking Experts
For those with special dietary needs, here are some alternatives:
- Almond flour-based cookies
- Coconut flour variations
- Protein-enriched cookie alternatives
- Vegan chocolate wafer options
Remember, you can adjust the nutrition of chocolate wafers. Cutting down on sugar or using different sweeteners can make them healthier. They can also keep their tasty flavor.
Making Ahead and Freezing Instructions
Preparing your homemade chocolate wafers in advance can save time. It ensures you always have delicious treats ready. With the right techniques, you can keep the rich flavor and perfect texture of your chocolate wafer cookies recipe.
Dough Preparation Tips
When making chocolate wafer cookies, you can prepare the dough ahead of time. Follow these key strategies:
- Keep dough refrigerated for up to 5 days in an airtight container
- Wrap dough tightly in plastic wrap to prevent drying
- Let refrigerated dough sit at room temperature for 10-15 minutes before rolling
Proper Storage Methods
Freezing your homemade chocolate wafers is an excellent way to extend their shelf life. Here are some expert storage recommendations:
- For raw dough: Freeze for up to 3 months
- For baked cookies: Store in freezer for 3-6 months
- Use freezer-safe containers or zip-top bags
Pro tip: Always label your containers with the date to track freshness!
When you’re ready to enjoy your frozen cookies, simply thaw them at room temperature for about 30 minutes. For frozen dough, let it defrost in the refrigerator overnight before baking.
Proper storage ensures your chocolate wafer cookies maintain their delightful taste and texture. This way, you can enjoy freshly baked treats whenever you desire.
Variations and Flavor Adaptations
Turn your classic chocolate wafer cookies into exciting treats. Try different flavors to make a simple cookie recipe stand out.
Here are some tasty chocolate wafer cookie toppings and flavor changes:
- Espresso Infusion: Add 1-2 teaspoons of finely ground espresso powder to deepen the chocolate taste
- Mint Chocolate Twist: Mix in 1/2 teaspoon of mint extract for a cool twist
- Nutty Crunch: Add chopped almonds or pecans for extra crunch
- Citrus Zest: Add orange or lemon zest for a zesty, tangy flavor
For creative ideas, try these:
- Make sandwich cookies with cream filling
- Use them as crumb crusts for cheesecakes
- Layer them in icebox cakes
- Use them as cookie crumbles for ice cream topping
“Creativity in baking is about exploring flavors and textures beyond the traditional recipe.” – Professional Baker’s Insight
Changing ingredients might need small tweaks to your recipe. Start with small batches to find your perfect chocolate wafer cookie mix.
Serving Suggestions and Presentation Ideas
Turn your chocolate wafer cookies into stunning desserts with these ideas. They’re perfect for dinner parties or cozy nights at home. These suggestions will make your desserts stand out.
Elegant Plating Techniques
Show off your chocolate wafer cookies with these elegant ways:
- Arrange cookies in a circle for a dramatic look
- Dust with powdered sugar for a fancy touch
- Stack cookies for a modern look
- Use fancy plates or vintage stands for extra flair
Pairing Recommendations
“The right beverage can transform a simple cookie into a gourmet experience.”
Match your chocolate wafer cookies with these drinks:
- Rich espresso
- Vanilla chai tea
- Cold milk
- Dessert wine
Creative Dessert Transformations
Try these new ways to use chocolate wafer cookies:
- Crumb them for texture-rich cake garnishes
- Layer in no-bake cheesecake bases
- Make cookie crumb truffles
- Decorate ice cream sundaes with them
Remember, presentation is an art. With a bit of creativity, your chocolate wafer cookies can be both tasty and beautiful.
Conclusion
Making your own chocolate wafer cookies is more than baking. It connects you to generations of home bakers. You get to choose every ingredient, making your cookies unique.
Creating these cookies is a journey. It lets you improve your baking skills and try new things. Your homemade cookies can be used in many ways, like in desserts or as a crust.
Baking is both a science and an art. With practice, you’ll make cookies that are better than store-bought ones. Enjoy the process, share your cookies, and be proud of your baking.
It’s time to start baking. Get your ingredients ready and begin your adventure. Your kitchen is waiting for you to make amazing homemade chocolate wafers.
FAQ
How long do homemade chocolate wafer cookies stay fresh?
Can I make these chocolate wafer cookies gluten-free?
What’s the best way to get uniform, thin chocolate wafer cookies?
Can I substitute different types of cocoa powder in the recipe?
How do I prevent my chocolate wafer cookies from spreading too much?
Are chocolate wafer cookies suitable for people with dietary restrictions?
What are some creative ways to use chocolate wafer cookies?
How can I make my chocolate wafer cookies extra crispy?
Can I add mix-ins to the chocolate wafer cookie dough?
What’s the best way to store chocolate wafer cookie dough?
Leave a Review
There are no reviews yet. Be the first one to write one.

