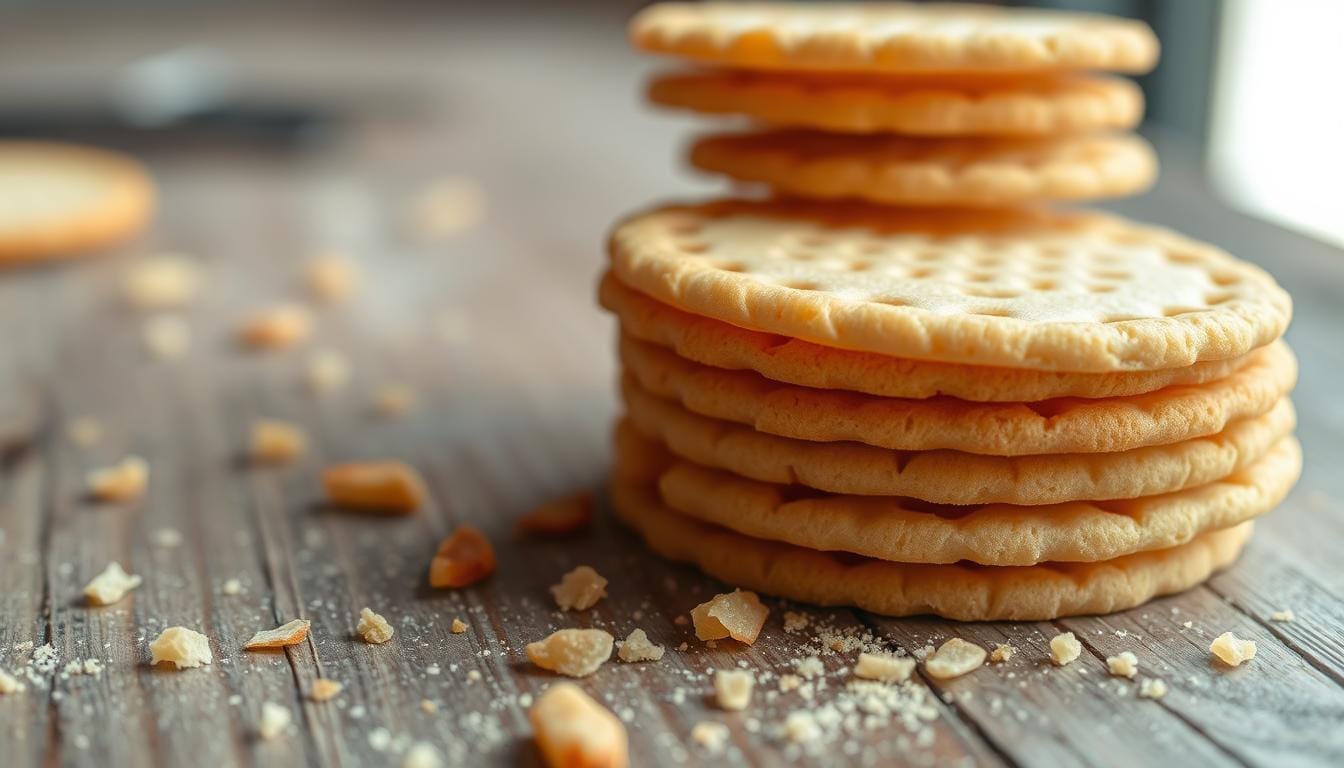
Homemade Wafer Cookies: Light, Crispy, and Irresistible
Table of Contents
Imagine a crisp afternoon with sunlight in the kitchen. The air is filled with the scent of freshly baked thin wafers. Wafer cookies bring back childhood memories with their crunchy texture and softness.
These treats are more than snacks; they’re a culinary art form loved for centuries. Whether you’re an experienced baker or new to the kitchen, making wafer cookies is a fun challenge.
Wafer cookies come in many flavors, from chocolate-coated to cream-filled. With simple ingredients and baking passion, your kitchen can become a place of sweet perfection. Start your baking journey to improve your skills and wow your loved ones.
This guide will teach you how to make the most delicious wafer cookies. You’ll learn about choosing the right ingredients and baking techniques. Soon, you’ll be making thin wafers that are as good as store-bought ones.
The Magic Behind Perfect Wafer Cookies
Wafer biscuits have won over dessert fans with their thin layers and crunchy texture. These treats are a true art form, blending simplicity with deliciousness.

Let’s uncover what makes these layered wafers so unique and dive into their world.
What Makes Them Unique
Wafer cookies are special for several reasons:
- Ultra-thin, crispy texture
- Light and delicate composition
- Versatile flavor options
- Great for multi-layered desserts
A Delicious Historical Journey
The history of wafer biscuits starts in European bakeries. Bakers made these treats with great care. Nabisco was key in making wafer cookies popular, introducing chocolate varieties in 1924.
In 1929, an innovative ad showed layering wafers with whipped cream. This was when more people had refrigerators.
Exploring Wafer Varieties
There are many exciting wafer biscuit types:
- Classic vanilla wafers
- Chocolate-coated options
- Cream-filled delights
- Specialty flavored wafers
Each variety offers a different taste, from sweet to complex. Their thin structure makes them perfect for soaking up flavors, creating melt-in-your-mouth desserts.
Essential Ingredients for Classic Wafer Cookies

Making tasty vanilla wafer snacks starts with knowing the key ingredients. These ingredients turn simple parts into crispy, tasty treats. Your baking journey starts with picking high-quality ingredients that work well together.
Classic vanilla wafer snacks need just a few essential ingredients:
- Flour: 2 cups of all-purpose flour give structure and texture
- Butter: 1 cup of unsalted butter for a rich, creamy taste
- Sugar: 1/2 cup granulated sugar for a bit of sweetness
- Heavy cream: 1/3 cup to add richness
Vanilla is a key player in these tasty vanilla wafer snacks. Pure vanilla extract is the secret to an amazing cookie. It adds depth and complexity to the flavor.
“The quality of your ingredients determines the magic of your cookie” – Baking Enthuasiast
When making your vanilla wafer snacks, remember that precision is key. Each ingredient adds something special to create the perfect crisp texture and taste. Chilling the dough for at least 2 hours helps it become the best it can be. This ensures your cookies keep their shape while baking.
- Roll dough to 1/8 inch thickness
- Bake at 375°F for 7-9 minutes
- Prick with a fork to prevent air bubbles
By choosing and measuring your ingredients carefully, you’ll make vanilla wafer snacks that will wow everyone. They’ll be full of homemade charm and irresistible flavor.
Kitchen Equipment You’ll Need
To make tasty wafer crackers, you need the right tools. Having the right equipment makes baking fun and easy.

Must-Have Tools for Wafer Crackers
Some tools are key for making wafer crackers. Here’s what you need:
- Stand mixer or hand mixer
- Sturdy rolling pin
- Non-stick baking sheets
- Parchment paper
- Measuring cups and spoons
- Cooling wire rack
Optional But Helpful Baking Accessories
These tools are not essential but can make baking better:
- Silicone baking mat
- Offset spatula
- Digital kitchen scale
- Pastry wheel or pizza cutter
- Kitchen thermometer
“The right tools make baking wafer crackers not just easier, but more enjoyable!” – Professional Baker
Good kitchen tools help your wafer crackers be crisp and even. Most bakers like non-stick tools for making wafer crackers.
Step-by-Step Preparation Method

Making delicious wafer cookies needs precision and patience. Your journey starts with careful preparation and attention to detail. Here are the key steps to make crispy, delightful treats.
Ingredient Preparation
First, gather all your ingredients and make sure they’re at the right temperature. You’ll need:
- Softened butter
- 1 large egg
- Granulated sugar
- All-purpose flour
- 1 tablespoon vanilla extract
- Baking powder
Mixing the Wafer Cookie Dough
Here’s how to make your wafer cookie dough:
- Cream the softened butter with sugar until light and fluffy
- Add the egg and vanilla extract, mixing well
- Slowly add flour and baking powder
- Chill the dough for 30 minutes
“The secret to perfect wafer cookies is in the preparation and technique.”
Rolling and Cutting
When shaping your wafer cookies, remember these tips:
- Roll dough to about 1/8″ thickness
- Cut cookies to 2 1/2″ diameter
- Place cookies 2 inches apart on baking sheets
- Use parchment paper for easy removal
Baking Instructions
Bake your wafer cookies carefully:
- Preheat oven to 350°F
- Bake for 12-15 minutes
- Look for golden brown edges
- Let cookies cool completely
Pro tip: Try adding chocolate chips or lemon zest for unique wafer cookie flavors!
Making the Perfect Wafer Cookie Dough
Creating cream wafer sandwich cookies starts with mastering the perfect dough. Your success depends on precise mixing techniques and understanding dough consistency. Preparing homemade wafer cookies requires attention to detail and patience.

When making cream wafer sandwich cookies, preparation time is about 35 minutes. The key to exceptional results lies in your mixing approach and ingredient handling.
Mixing Techniques for Wafer Cookie Dough
Your mixing technique can make or break your cream wafer sandwich cookies. Consider these essential steps:
- Use room temperature butter for smoother mixing
- Cream butter and sugar until light and fluffy
- Mix dry ingredients separately before combining
- Avoid overmixing to prevent tough cookies
Dough Consistency Tips
Achieving the right dough consistency is key for perfect wafer cookies. Here are professional tips:
- Refrigerate dough for 2 hours before rolling
- Aim for a smooth, compact texture
- Check that dough is firm but not crumbly
- Use minimal flour when rolling to prevent dryness
Pro baking tip: “The secret to crispy wafer cookies is in the dough preparation and baking technique.”
Remember that your dough can be refrigerated up to 2 days in advance. This makes preparation more flexible for your cream wafer sandwich cookies.
Rolling and Cutting Techniques

Making perfect chocolate wafer cookies needs careful rolling and cutting. The dough should be rolled to 1/8 inch thick. This ensures the cookies are crispy and light, just right.
Here are some key cutting tips for your cookies:
- Use a 1½-inch round cutter for uniform cookie sizes
- Ensure even pressure when cutting to maintain consistent thickness
- Work on a lightly floured surface to prevent sticking
- Chill the dough before rolling to make handling easier
“The secret to perfect wafer cookies is in the precision of your rolling and cutting technique.” – Pastry Chef Recommendation
Before baking, prick the dough three times with a fork. This stops it from rising too much and keeps it crisp. The size of your cutter affects how many cookies you get. Bigger cutters mean fewer cookies per batch.
Pro tip: Keep your workspace cool and work fast. Warm dough is hard to handle and can ruin the texture of your cookies.
Baking Tips for Crispy Wafer Cookies
To make perfect crispy wafers, you need to be precise and pay close attention. It’s all about controlling the temperature and timing. These steps turn simple ingredients into golden, crunchy treats.

Mastering Oven Temperature
The secret to crispy wafers is the right oven temperature. Set it to 350°F (175°C) for the best results. This temperature ensures even baking and a perfect crisp texture.
- Preheat the oven for at least 10 minutes before baking
- Use an oven thermometer to verify accurate temperature
- Avoid opening the oven door frequently during baking
Timing is Everything
Baking crispy wafers needs careful timing. Most recipes suggest 12-15 minutes of baking. Look for these signs to know your wafers are done:
- Edges turn light golden brown
- Cookies feel firm to the touch
- Surface looks slightly dry and set
Pro tip: Every oven is different, so start checking your crispy wafers at the 10-minute mark to prevent over-browning.
Space is key when baking crispy wafers. Place cookies 2 inches apart on the baking sheet. This allows for even air circulation, making each wafer crisp and crunchy.
Remember, practice makes perfect when creating your ideal crispy wafers!
Delicious Filling Variations

Creating the perfect filling turns your caramel wafer rolls into gourmet treats. The right filling can make your wafer cookies even more delicious.
Here are some classic and creative filling options:
- Strawberry Cream Filling: Blend ½ cup unsalted butter with 1½ cups powdered sugar and 1 tablespoon strawberry extract
- Chocolate Ganache: Use semisweet chocolate chips melted with heavy cream
- Espresso Cream: Mix butter with instant espresso powder for a rich, bold flavor
- Hazelnut Delight: Combine chocolate chips with hazelnut liqueur
For your caramel wafer rolls, consistency is key. Your filling should be smooth and spreadable. Use about 1 teaspoon of filling between each wafer layer for the perfect balance.
“The secret to amazing wafer cookies is in the filling – choose wisely and create magic!”
Pro tip: Always let your filling cool slightly before spreading to prevent soggy wafers. Refrigerate your completed caramel wafer rolls for up to 1 week in an airtight container to keep them crisp.
Decorating Your Wafer Cookies
Turn your homemade wafer cookies into beautiful art with creative decoration. Whether for a special event or just to impress, these ideas will spark your creativity.
Creative Design Ideas
Decorating chocolate-coated wafers lets you express yourself in many ways. Try these fun techniques:
- Drizzle melted chocolate in zigzag patterns
- Sprinkle colorful sugar crystals
- Add edible glitter for sparkle
- Use stencils for detailed designs
Special Occasion Themes
Make your chocolate-coated wafers fit any celebration. Here are some theme ideas:
- Birthday parties: Bright sprinkles and candy melts in matching colors
- Wedding favors: White chocolate with pearl dust for elegance
- Holiday treats: Use seasonal colors and decorations
“Decorating wafers is an art form that lets your creativity shine!” – Pastry Chef Emma Richardson
Pro tip: Melt chocolate in 15-second intervals to avoid overheating. Keep your decorated wafers in an airtight container at room temperature for up to a week. This keeps them fresh and crispy.
Storage and Shelf Life
Keeping your wafer cookies fresh and crispy is key. The right storage can make them last longer and stay tasty.
Here are some tips for storing homemade wafer cookies:
- Use airtight containers to prevent moisture absorption
- Store at room temperature between 60-70°F
- Keep away from direct sunlight and heat sources
- Separate layers with parchment paper to prevent sticking
Shelf life varies depending on storage conditions:
- Room temperature storage: 2-4 weeks
- Refrigeration: 2-3 months
- Freezing: Up to 3 months
“Proper storage is the secret to maintaining the perfect crunch of wafer cookies!” – Baking Experts
Watch for signs of spoilage like off odors, discoloration, or mold growth. If your wafer cookies lose their crispness, try placing a slice of bread in the container to absorb excess moisture. For best results, consume homemade wafer cookies within 3-4 days of baking.
Pro tip: Use silica gel packets in your storage container to help control humidity and preserve the wafer cookies’ delightful crunch.
Troubleshooting Common Issues
Baking thin wafers can be tricky, even for experienced home bakers. Understanding common challenges helps you make perfect crispy cookies every time. Up to 30% of cookie batches may face texture and baking problems.
To achieve consistently thin wafers, pay close attention to several key factors. Let’s look at the most common issues and their solutions:
Texture Challenges
- Inconsistent dough thickness can cause irregular shapes
- Improper mixing may result in uneven texture
- Ingredient temperature significantly impacts cookie quality
When making thin wafers, make sure your ingredients are precisely measured. Cold butter is key for the perfect texture. Aim for a dough that rolls and cuts evenly.
Baking Difficulties
- Control oven temperature carefully (recommended 415°F)
- Watch baking time closely (9-11 minutes)
- Use quality ingredients for consistent results
“Precision is key when creating thin wafers that are crispy and delicate.”
Oven calibration is very important. Temperature variations can cause up to 15% of cookies to be burnt or undercooked. Regular testing and monitoring can improve your baking by nearly 30%.
Pro tip for thin wafers: Chill your dough for 4-24 hours before baking. This helps keep the shape and prevents spreading during cooking.
Health-Conscious Variations
Consumer tastes are moving towards healthier choices. Now, you can enjoy your favorite vanilla wafer cookies while meeting dietary needs and wellness goals.
Check out these exciting health-conscious alternatives for vanilla wafer cookies:
- Gluten-Free Options: Replace wheat flour with almond or coconut flour
- Low-Sugar Versions: Use natural sweeteners like stevia or monk fruit
- Vegan Adaptations: Substitute eggs with flaxseed or chia seed mixtures
- Protein-Enhanced Recipes: Add protein powder for extra nutrition
Health-conscious bakers can try new ingredients to keep the classic crispy texture. Use whole grain flours, cut down on sugar, and add nutrient-rich ingredients. This way, you can make traditional recipes healthier.
“Healthy eating doesn’t mean sacrificing flavor – it’s about smart ingredient choices.”
The vanilla wafer cookies market is changing a lot. More people want healthier snack options. So, recipes that are both tasty and nutritious are key. Recent data shows that manufacturers are making more health-conscious products because of this.
But remember, texture and taste are important. Be careful when trying new recipes. Make sure your healthier vanilla wafer cookies are crunchy and sweet, just like the originals.
Serving Suggestions and Pairings
Make your strawberry wafer cookies special with creative serving ideas. These treats are more than just snacks. They’re perfect for adding a gourmet touch to your meals.
Perfect Beverage Pairings
Find the best drinks to go with your strawberry wafer cookies:
- Espresso: Cuts through the sweet cookie flavor
- Green tea: Provides a subtle, refreshing contrast
- Hot chocolate: Intensifies the dessert experience
- Chai latte: Adds warm spice notes
Dessert Integration Techniques
Turn your strawberry wafer cookies into fancy dessert parts:
- Crumble as ice cream topping
- Layer in classic icebox cakes
- Garnish mousse or pudding
- Create decadent parfait layers
“Wafer cookies are the unsung heroes of dessert creativity”
Think about the nutrition too. A wafer cookie has about 150-180 calories and 20-25 grams of carbs. Pairing these treats right can make your meals unforgettable.
Conclusion
Starting your journey to make homemade wafer biscuits is more than a fun activity. It’s a chance to connect with your family’s baking traditions. These delicate treats let you show off your creativity, making cookies that are better than store-bought ones.
Wafer biscuits are simple yet versatile. You can make them in many flavors, from classic vanilla to new ones. Remember, the more you bake, the better you’ll get. Each batch of wafer cookies will help you improve your baking skills.
These wafer biscuits are perfect for impressing others or enjoying a tasty snack. You now have the knowledge to make cookies that show off your unique style. Your creativity can turn basic ingredients into something special.
Begin your wafer baking journey with confidence. Every crisp, light bite shows off your creativity and skill. The world of homemade wafer biscuits is waiting for your personal touch!
FAQ
What are wafer cookies?
How long do homemade wafer cookies stay fresh?
Can I make wafer cookies gluten-free?
What equipment do I need to make wafer cookies?
How thin should wafer cookie dough be rolled?
Can I freeze wafer cookies?
What are some popular wafer cookie flavors?
How can I prevent my wafer cookies from becoming soggy?
Are wafer cookies suitable for people with dietary restrictions?
What are some creative ways to serve wafer cookies?
Leave a Review
There are no reviews yet. Be the first one to write one.


